
Gentle Kindergarten Math: A Guide to MEP Reception
When I was doing research into what to include for math during my son’s kindergarten year, my original intention was to use Arithmetic for Young Children by Horace Grant because I felt it was a little less strenuous than a normal math curriculum and followed a more Charlotte Mason approach. I dutifully printed out all of the lessons and put them in a binder, ready for the first day of school. While the questions weren’t particularly difficult, some were a little abstract and after a while, it felt like I was just drilling him with question after question after question. So I decided to look into alternatives.
I had actually found the Mathematics Enhancement Programme (MEP) before we began our year and kept it in my back pocket just in case. AmblesideOnline has it listed as a recommended resource for math and it’s free, so when Mr. Grant didn’t work out for us, I decided to try MEP Reception instead.
This is a spiral-approach program that was originally made for 5- to 6-year-old children in Hungary and later translated for use in England. The lessons are wonderfully short and usually involve counting, very simple math operations, coloring, a game, or some kind of hands-on activity. It’s a very gentle program and both of my kids responded extremely well to it. It also prepared my son perfectly for RightStart Level B, which is what we ended up switching to during his first grade year (which my daughter will be starting in the fall!).
One minor setback, however, is that some of the lessons can be a little difficult to understand, so I decided to make a guide walking through all of the lesson plans, which you can find below.
MEP Reception Overview

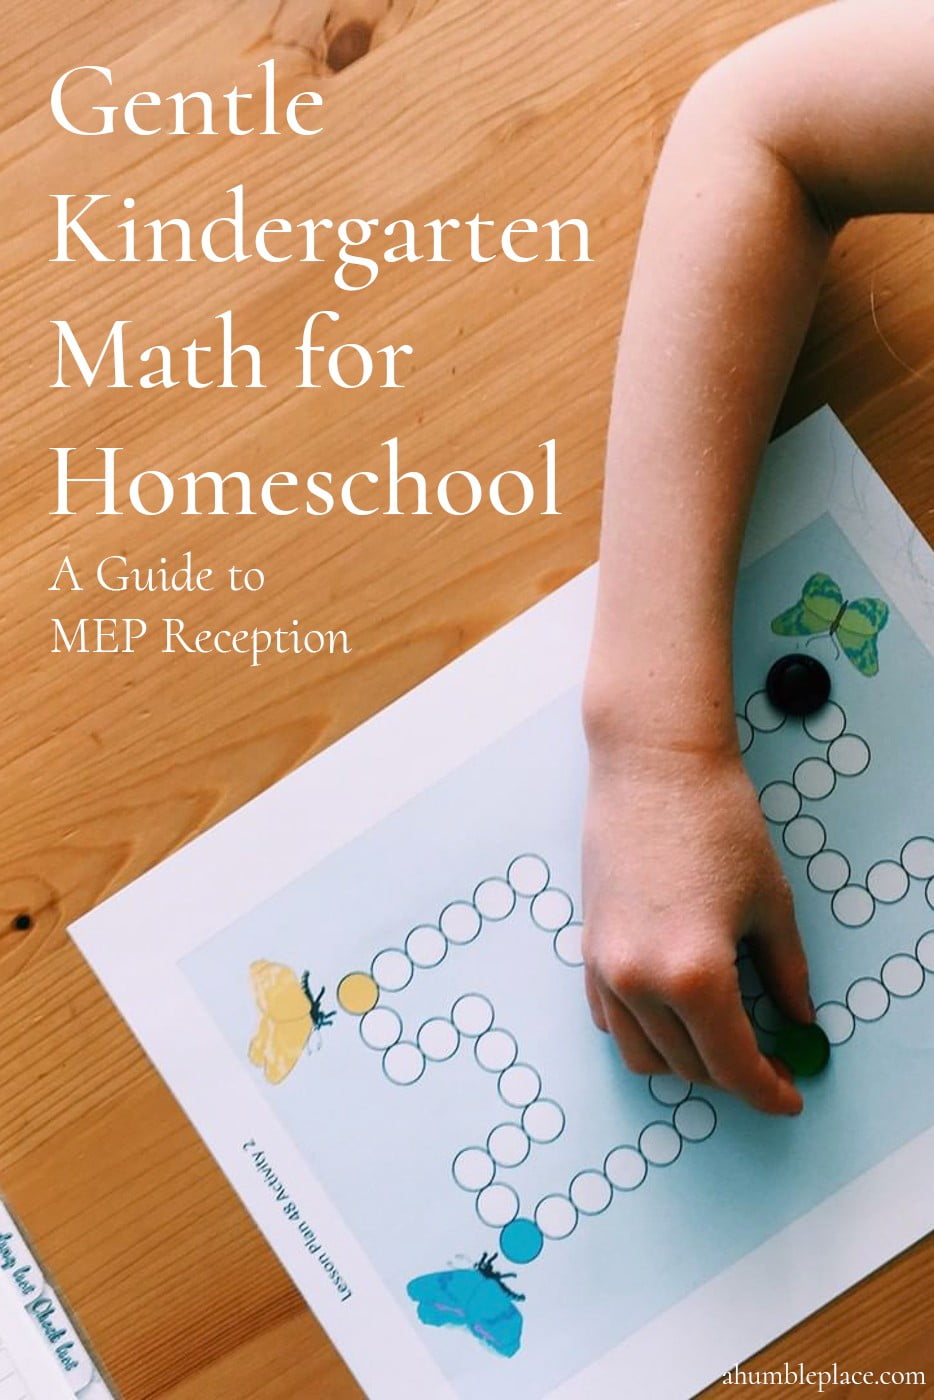
There are two parts to MEP Reception. The lesson plans are what you, the teacher, will use to guide your child through the lesson. These are broken down into ten-lesson PDFs that you can download and print out. I do recommend printing these and putting them in a binder (or binding them yourself). though some parents have also just viewed them on a computer screen or tablet when they went through the lesson.
The other part is Copymasters, which are for your student. These are also broken down in ten-lesson PDFs and will be what your child will use for the lesson, though not for every lesson. These will need to be printed out as there are usually activities where the child has to do something on the picture like draw or trace. I like to print a chunk out at a time and I keep them in one of the pockets of my lesson plan binder so I can give them to my student when we’re working on a lesson that needs them. The lesson plan will usually reference which copymaster needs to be used for a specific lesson (you can also click on the blue text and it will show you which picture is being referenced). There are a very few instances where this is not the case and I’ve noted those below.

If you’d like to make your lesson plans binder more complete, you can also print out the General Overview and Guidelines and Introduction to Reception Lessons which give an overview of the philosophy and goals for the year. I’d recommend at least reading these as they provide helpful tips on how to implement the curriculum as well as a little background.
The Lessons

Each lesson is broken up into a table with different sections. The “R” on the far left of the top of the table indicates that this is Reception. The box in the top middle indicates what you’ll be doing for this lesson; “R” stands for Revise or Review, “C” stands for Core work (which means the main point of the day’s lesson), and “E” stands for Extension, or extra activities that are included. These are purely informational and there’s really nothing that you need to do with these. To the right of that is the number of the lesson.
In the next row you’ll see the activity number and then a time estimate. For the most part, these did not apply to us at all as these were calculated in a schoolroom setting with many kids. In the box to the right of that is the activity you’ll be doing (along with a link to the worksheet for that activity if applicable), and in the far right box is a link to a poster to print for this lesson in a larger classroom setting (I did not use these) and any notes that you may find useful in implementing the activity.
The beauty of MEP is everything is scripted and very easy to implement. There is no rigorous, structured math, but instead, the concepts are taught using simple and fun activities like counting objects in a picture, matching objects, drawing over lines (as a hand exercise), coloring, and playing games. The only work you’ll really need to do is make sure you have the necessary supplies on hand before a lesson starts as well as printing the lesson plans and copymasters and cutting out any game pieces (which are not many). And that’s all there really is to the lesson plans – it’s very simple!
Supplies
There aren’t a whole lot of things you’ll need for most of Reception other than colored pencils and crayons on a regular basis, but there are a few other items you’ll want to have on hand for some of the lessons.
- counters or countable manipulatives (we used wooden cubes, glass pebbles, coins, colored erasers, etc.)
- colored sticks
- scissors
- construction paper
- glue stick and glue
- tape
- plasticine (see note on 37.2)
Individual Lesson Notes
There are a few lessons throughout Reception that can be a little confusing or difficult to understand, so I’m including notes on all of the ones I ran into that it took me a little while to figure out. If there are any not listed here that you’re unsure how to implement, feel free to contact me or leave a comment and I’ll add them to the list!
For each activity, I will reference it by the lesson plan number followed by a decimal and then the activity number. Eg. for lesson plan 4, activity 2, I will use 4.2.
1.1 Free Choice Play
This is basically a free time that may have been used just for the first day of school for children still getting acclimated to being in a school environment. You can either skip this one entirely or do some kind of math-related activity or game. My kids really enjoy these color cubes, but you could really use just about anything here.
2.2 Ben’s Toys
The linked worksheet (Lesson Plan 2 Activity 2) is for the second part of the lesson. For the first question, you can use the worksheet from 1.2.
Also, for the question, “How many cars did you not color in, H?” the answer is actually 1.
3.1 Playing with sticks
You will need colored sticks for this activity.
5.1 Playing the family in front of the class

If you do not have enough students in your house to make all the members of the Reception family (like us), another option is to print out the worksheet from 1.1 (this works better on thicker cardstock paper), cut out each member of the family, make a little loop stand for them, and staple or tape it together (you can see how I did it to the left). This was actually helpful to have for several lessons.
5.2 Placing, drawing items
(also 10.2, 15.2)
You will need a sheet of paper with lines on it for this activity and a few others. You can download one here.
5.3 Game 1 (Teddy bears)
As with all the games, you will want to make sure you have these printed in advance and all the little pieces cut out and ready. If you have multiple students going through Reception, you can save the games in ziplock bags or envelopes to use again in later years. My kids also enjoyed playing them outside of math time.  For the counters, we used glass pebbles.
6.3 Map (Interlude)
These are finger activities that are included throughout Reception and I did not do them with my kids as they had this kind of exercise outside of math time. Feel free to do them or something similar (eg. scissor skills or tape activities) if you’d like to include it in your math time.
7.1 Picnic
When you get to the questions that begin with “Will there be enough…” (sandwiches or apples), allow them to answer that question with a guess first and then have them join the food to the people.
11.1 Going Home
For the “How many blades of grass do you see?” question, the answer (5) is based on the five clumps of grass in the lower right. Your student might count all of them, but a better way to word it might be home many clumps of grass rather than individual blades.
16.1 Free choice play
This is the same as 1.1. You can do the same as you did with that lesson, or I also let my kids pick a math game we had already played from Reception to play during this time.
16.2 Birthday Party 2
You will need to re-use the image from 15.1 here or you can print the poster instead.
20.2 Snail

You will need scissors, construction paper, and either a glue stick or Scotch tape (the tape worked better for us). This was one of my kids’ favorite activities.
23.1 Song or ditty for counting
(also 28.2)
You could really use any math song here but you’ll want to stop at six. For my daughter I used Yellow is the Sun from RightStart.
At the end of this lesson (Drawing six sticks), use the worksheet from 23.2 and the area just under the hands with the lines (or “sticks”).
23.3 By the water
For the question about how many storks there are, the image actually contains two.
25.2 Tortoise
You will need a walnut, scissors, construction paper, and glue for this activity.
28.1 Drawing seven sticks
You can use the worksheet from 23.2 to draw another stick.
30.1 Parts of the day
For the question, “What are they likely to be eating?” the answer is listed as “milk with roll,” but both I and my kids thought it looked more like a banana.
31.3 Mugs
For “Describe its position on the right-hand side,” the answer should be low-right if your student drew the mugs to match the way they’re laid out on the left side.
32.3 Folding a dog
You will need scissors for this activity. The easiest way to do this is to print out the animal outlines activity and have the child cut out the dog (first shape in the second row). If you can increase the size in your print settings, that’s even better. As an even easier alternative, you could make an origami dog as well.
33.1 Drawing eight sticks
You can use the worksheet from 33.2 to draw another stick.
37.2 Animals from plasticine
You will need plasticine for this activity. I did not have any on hand and didn’t want to buy it just for this, so we skipped this project.
38.2 Game 6 (Birds)
The instructions mention and there is a picture of two buttons or discs joined together with a string to form the bird “feet.” I just used two glass pebbles and my kids alternated with one they moved forward while imagining they were little bird feet. This worked well for us.
39.1 Zoo
In the second part of this activity, you count “circles on the black/white board altogether…,” you could also just count the fingers Ben is showing on the worksheet.
For the question of “How many animals are there altogether?” there are actually nine.
41.2 Six items
For the question, “What is beside the scarf?” the answer is actually an umbrella and tulip.
44.1 In the Meadow
For drawing sticks this time, you can just have your student draw the blue and red sticks in the margin of the worksheet for this activity.
44.2 Dots in boxes
Your student will need to reference the worksheet from 44.1 in order to know how many dots to draw in each box.
46.2 Steam engine
When counting circles that are in the picture, the answer includes the ones that are inside of the wheel shapes. At the end of this activity, when you count how many shapes have been used to build the train, the inside circle is not included in that answer.
49.2 Ten ladybirds
The question “How many are in the side rows altogether?” would be better worded as “How many are in the top and bottom rows altogether?”
60.1 Zoo
This one is just confusing in general and I think it’s best just to allow your student to make their best guess as to which animal you’re asking them to count. You can also try the folding activity at the end, but we skipped this also.

I know the list can look a little daunting, but overall, I really do believe MEP Reception is a wonderful math option to include in the kindergarten year! And even though we switched to RightStart in Year 1 and have used that ever since, I still chose to use MEP Reception with my daughter when it was her turn for kindergarten.
If you do decide to look for an alternative to this, RightStart Level A is another option. It’s a big investment in the beginning, but we have used all of the manipulatives for several years now (and will continue to do so with both kids) and I don’t regret that expense at all.
I hope this list has been helpful! Let me know if I left anything out!
The post Gentle Kindergarten Math: A Guide to MEP Reception appeared first on a humble place.