Easy DIY Rae Dunn Inspired Farmhouse Style Labels for Your Kitchen Pantry
Pretty up that pantry! 
I recently re-organized my pantry and made some trendy Rae Dunn inspired adhesive labels using long and clean skinny font for the food containers in my pantry. I really loved the final result, so now I’m excited to help you make your own vinyl pantry label decals for your home!
Just in case you’re not familiar, Rae Dunn is a popular pottery brand featuring long skinny lettering font on white canisters, bowls, plates, coffee cups, etc. And it’s so easy to personalize containers yourself with this trendy farmhouse look!
Hop over to dafont.com and download the free (for personal use) font called The Skinny. It’s the same font I used to make these personalized Christmas ornaments – NOW I’m using the same idea in the pantry! So fun! Keep scrolling for all the directions!
Hip Tip: If you’re looking for another type of storage container for this project, Sara on our team loves these!
**Keep in mind if this font isn’t your style, just use a different one that you’d prefer for your labels. My favorite part about this project is that you can customize the labels for what’s in your pantry, and size them to fit your individual containers!
DIY Farmhouse Style Kitchen Pantry Labels
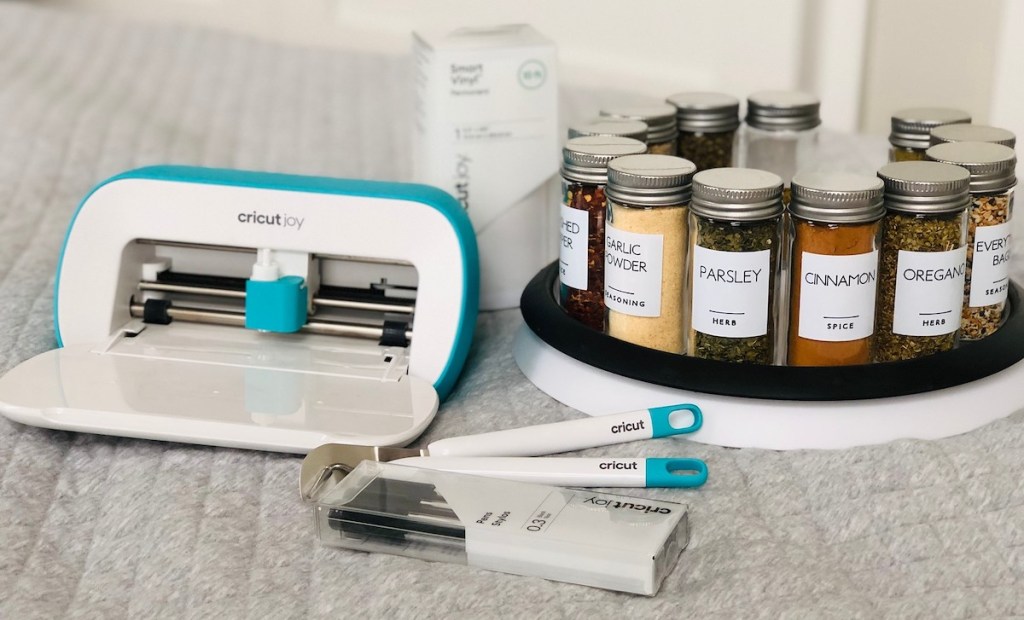
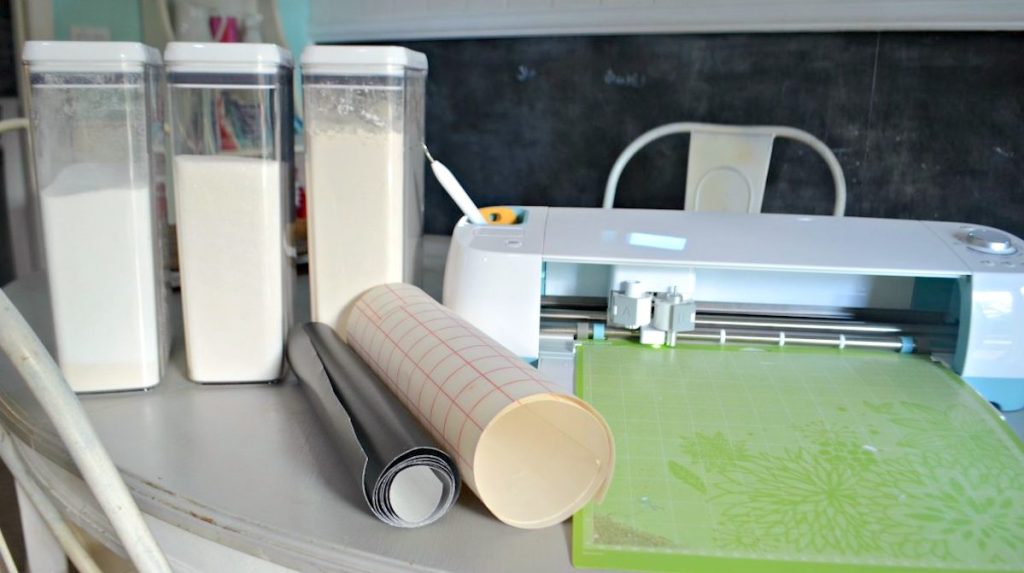
PrintSupplies Needed
Directions
1
Using your computer, download the free font from dafont.com called “The Skinny”.
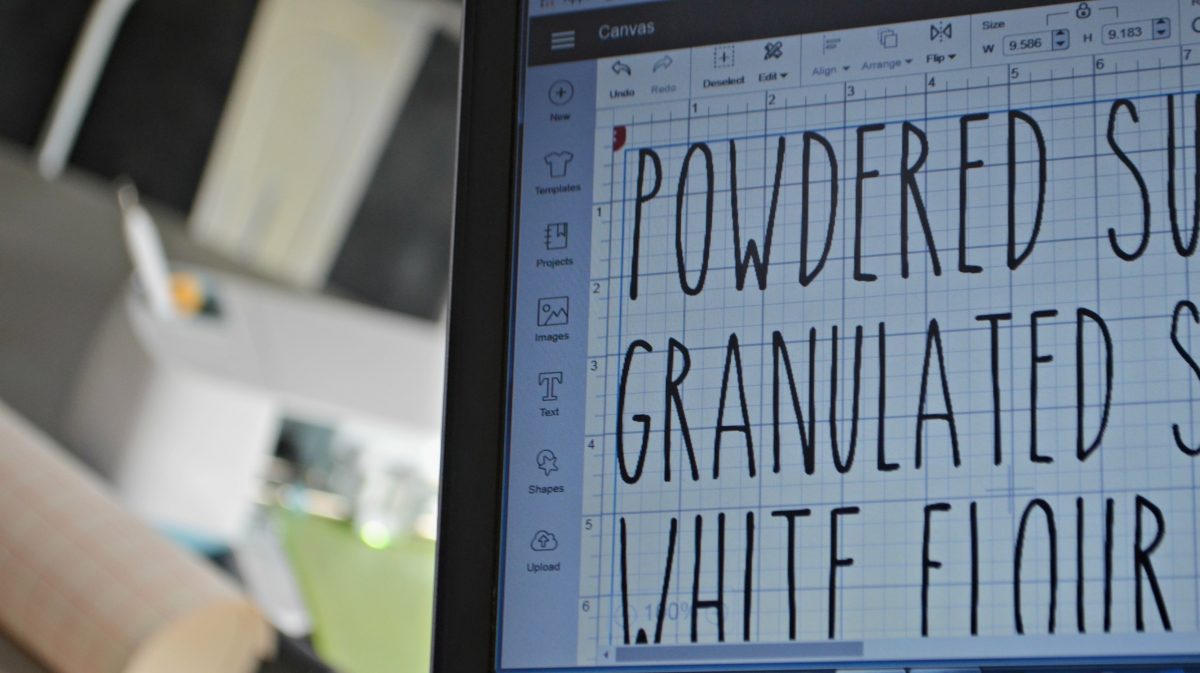
2
Once it’s installed, open Cricut Design Space and type out the desired words that you want for your pantry labels. (Make sure to size them to fit your containers or canisters)
3
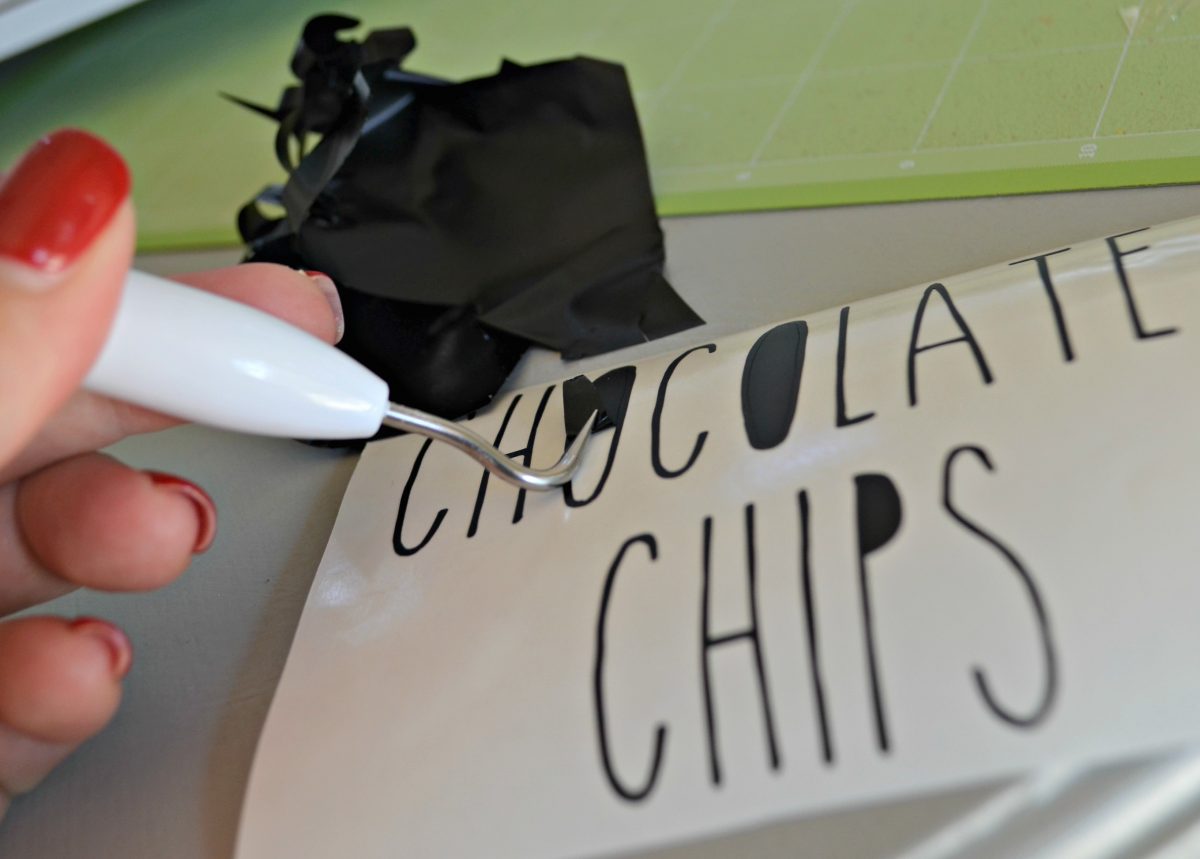
Using your Cricut, cut the lettering onto a sheet of vinyl. Using a weeding tool, weed out the excess vinyl to reveal the letters for your container labels.
4
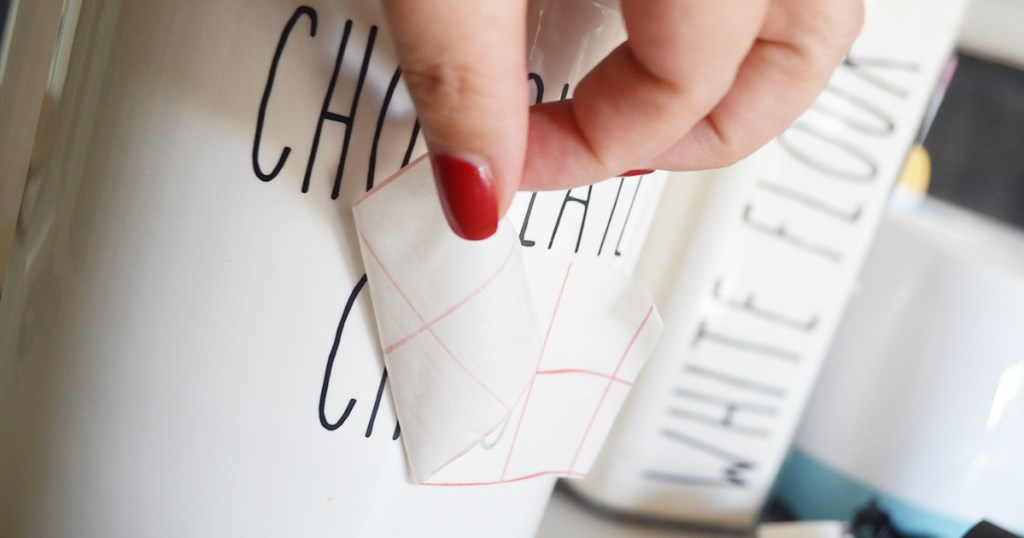
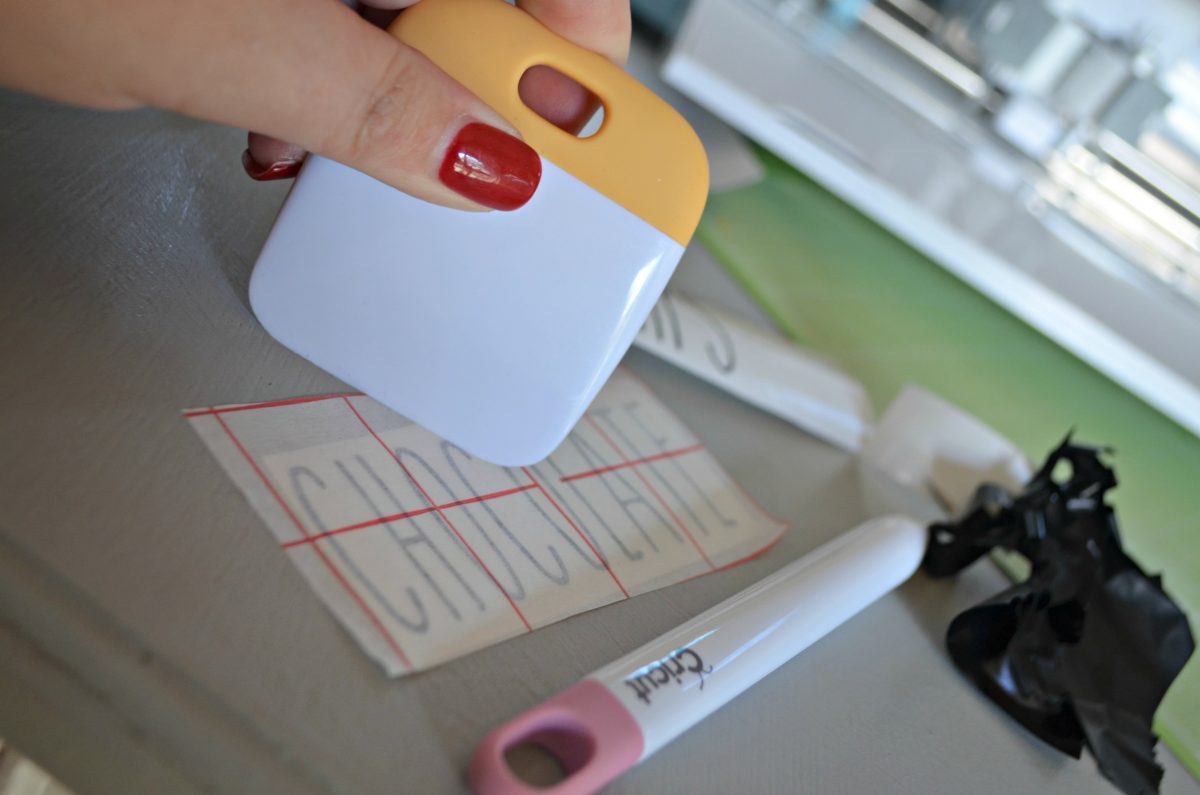
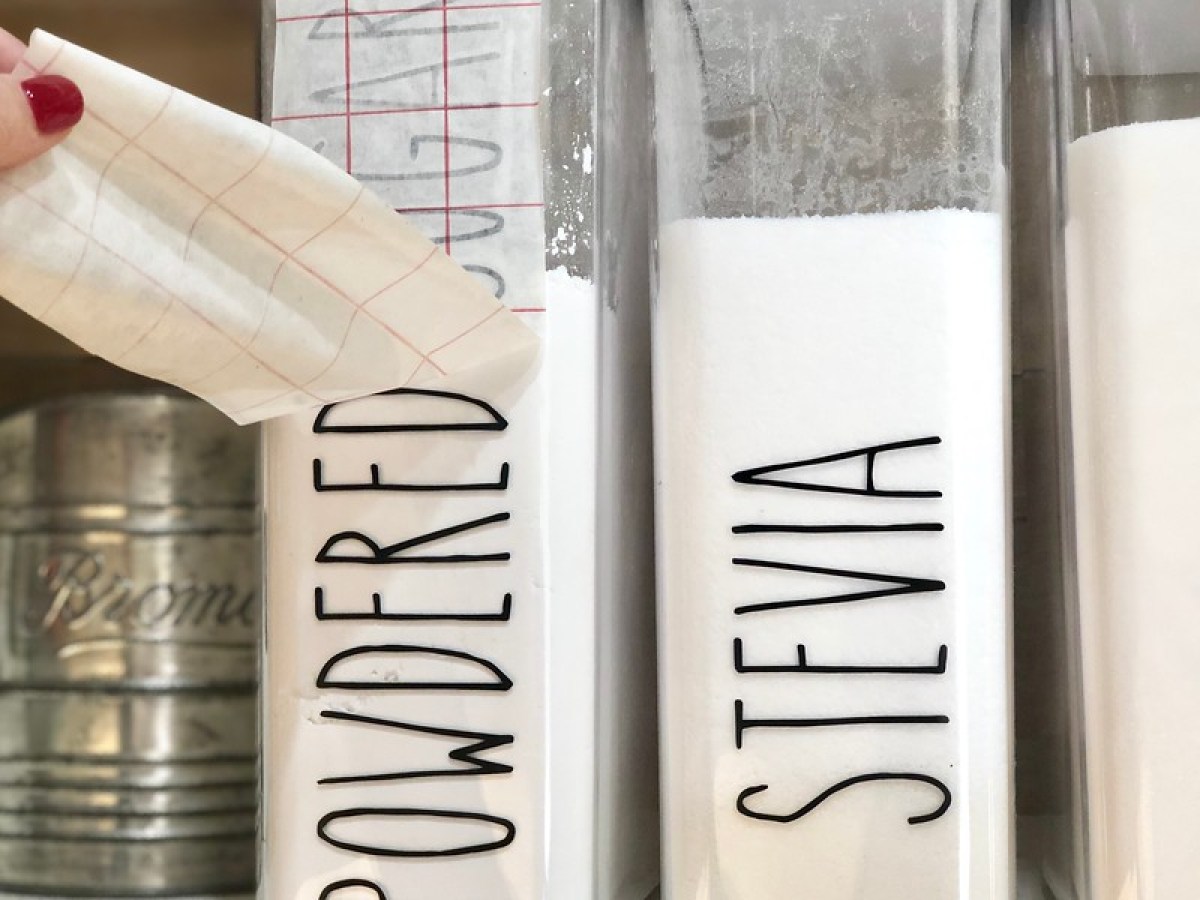
Rub transfer tape on top of the lettering so it “transfers” to the tape.
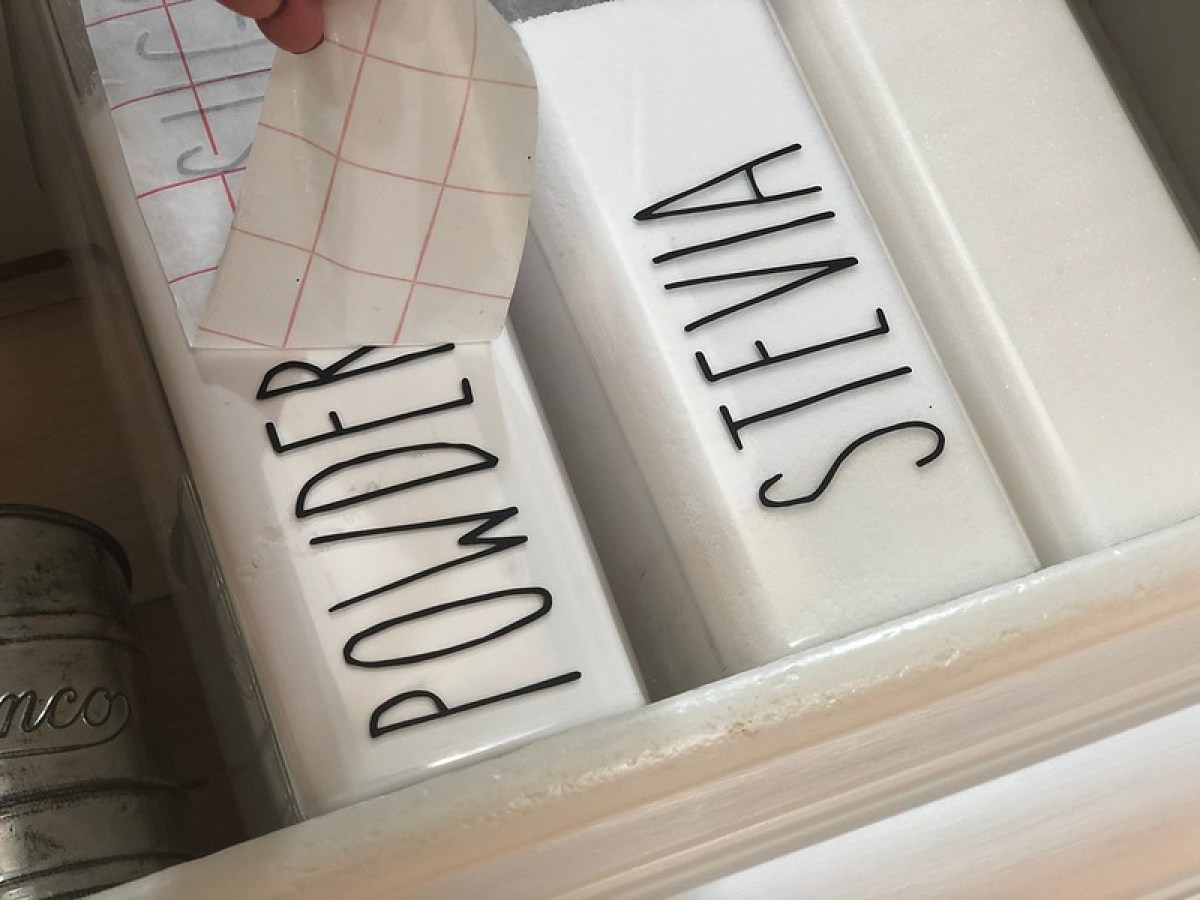
5
Place lettering onto containers and rub decal firmly onto the surface. Carefully pull back on tape, making sure the letters are stuck to the container and not peeling off.
6
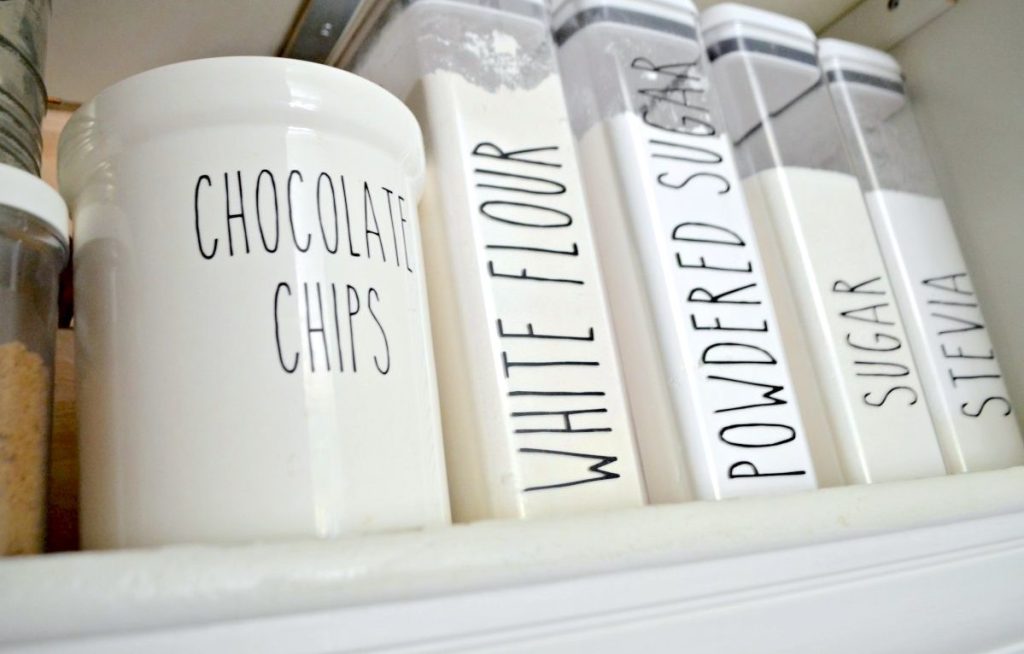
Fill your containers with the designated foods, and enjoy some pretty new containers in your pantry!
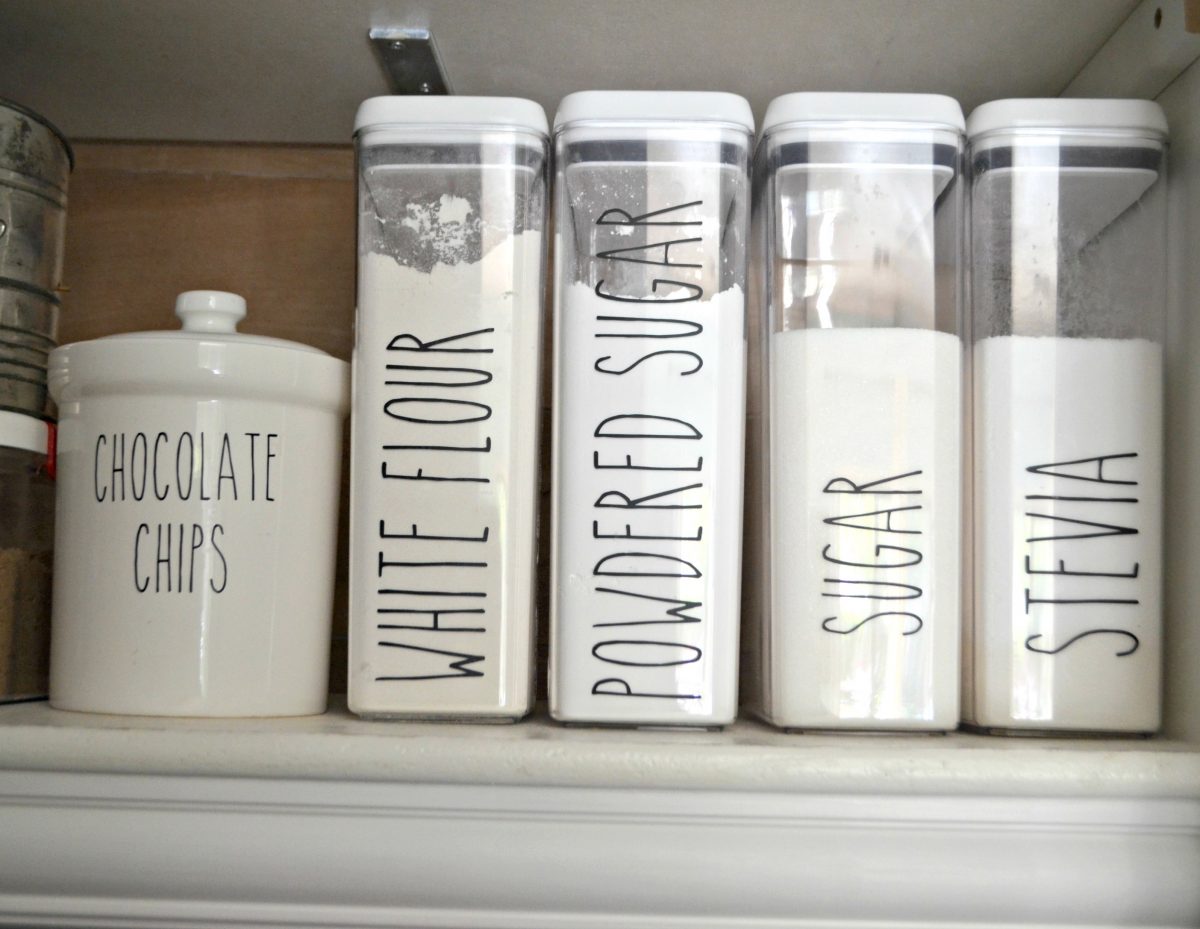
I LOVE how clean and organized my little baking section looks in the pantry now!
This is such a fun project, especially if you’re bored at home. It’s easy and straightforward to accomplish. Although I used an outdoor vinyl, I’m going to opt for handwashing my containers in the future to ensure the vinyl won’t come off. 
Don’t have a Cricut or not interested in making your own labels?
Check out these similar Rae Dunn pantry decals available for purchase on Amazon.
If you’re looking for more projects to do with your Cricut, my Hip Sidekick, Sara, recently transformed her spice cabinet!
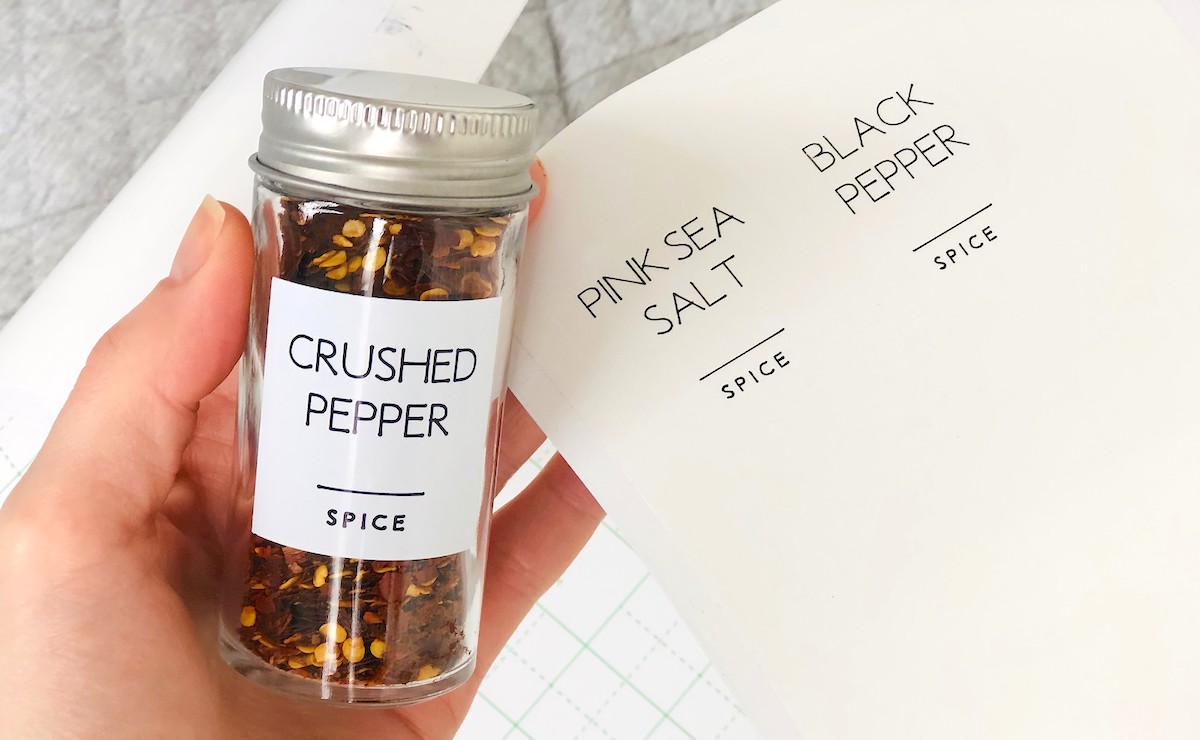
Sara’s not typically a crafter, so I promise you if she can master the Cricut, so can you! I love this simple DIY spice labels project to further prettying up you’re kitchen pantry. Plus, it’s a great way to make your spices look so much better in your cabinet or out on display!