
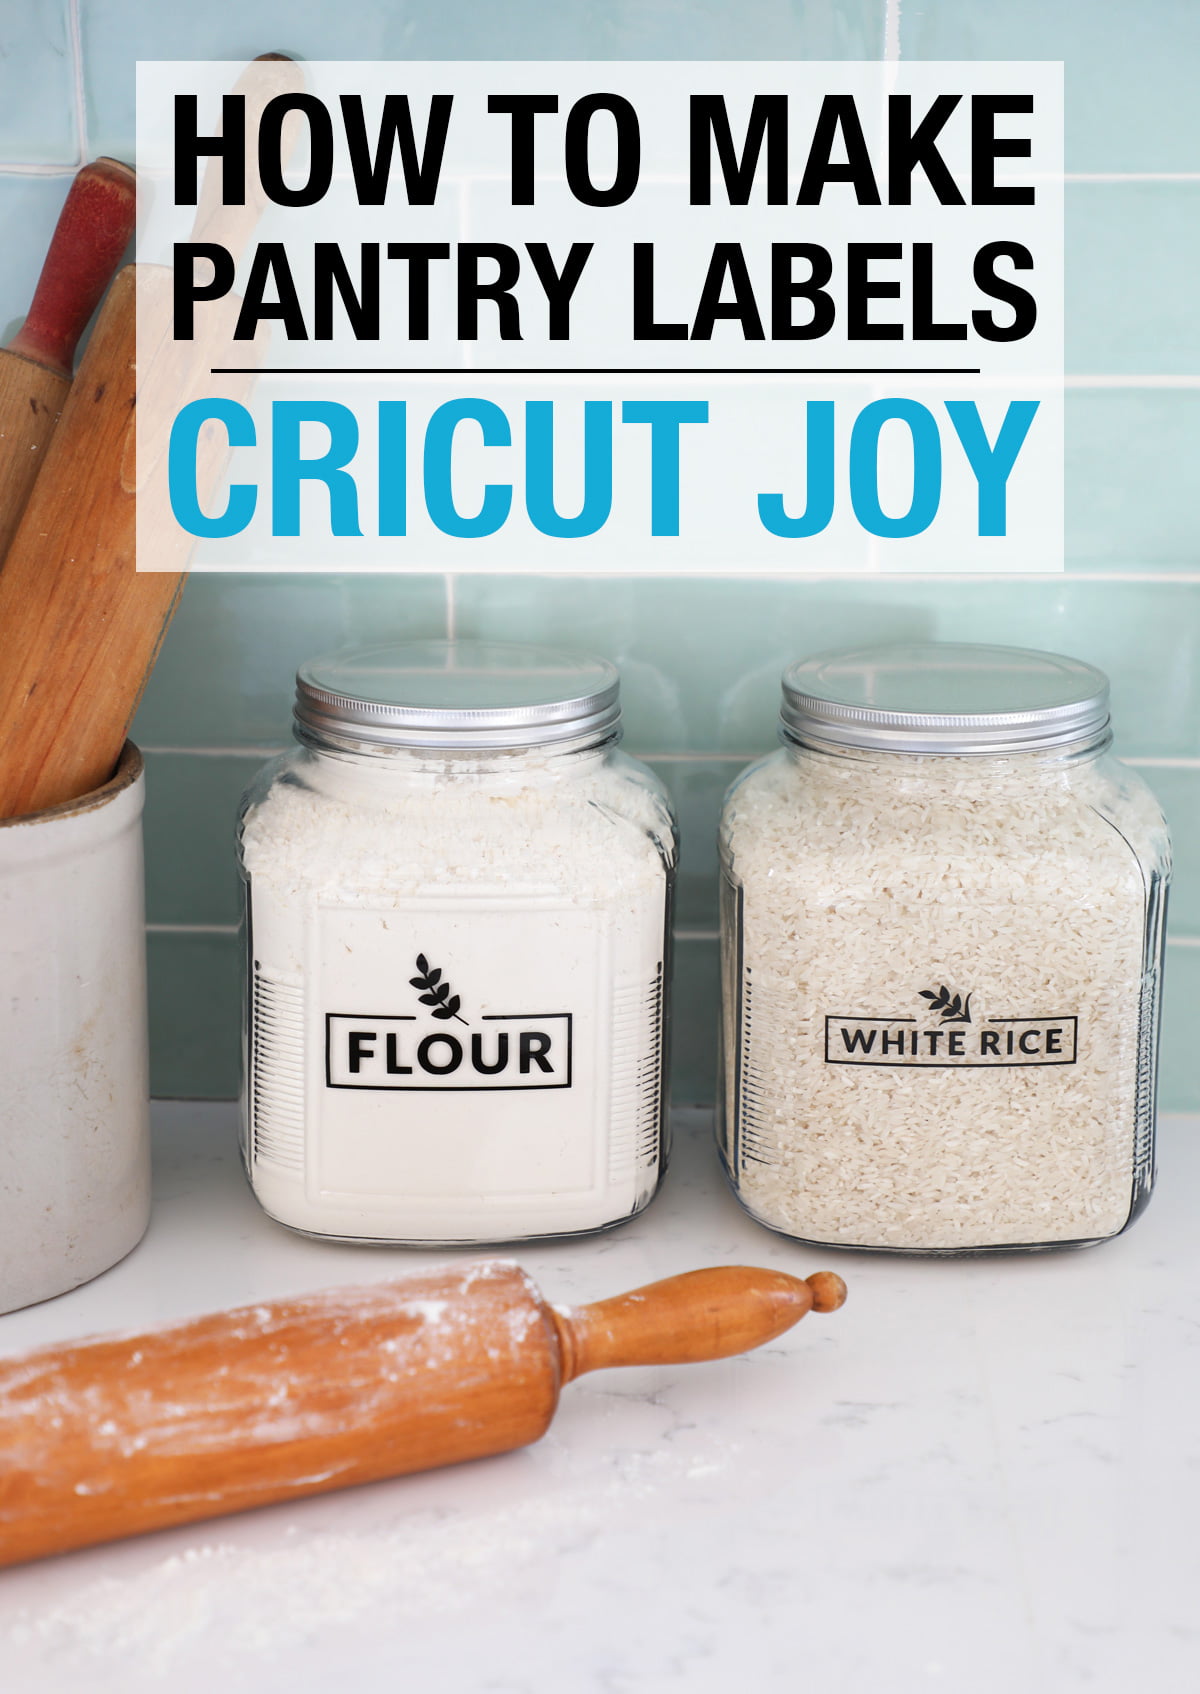
How to Make Pantry Labels with Cricut Joy
This is a sponsored post written by me on behalf of Cricut. All opinions are 100% mine.
5 ways to organize your kitchen with your Cricut Joy including a tutorial on how to make pantry labels.
 My kitchen renovation is almost complete and as it’s wrapping up I have started organizing the kitchen. Everything from creating pantry labels for flour, sugar and rice, to organizing my refrigerator and small appliances. Today not only did I want to share with you how to make vinyl labels but also 5 ways to organize your kitchen with labels made with a Cricut Joy. These projects are so easy with the Cricut Joy each can be done in under 15 minutes.
This post contains affiliate links.
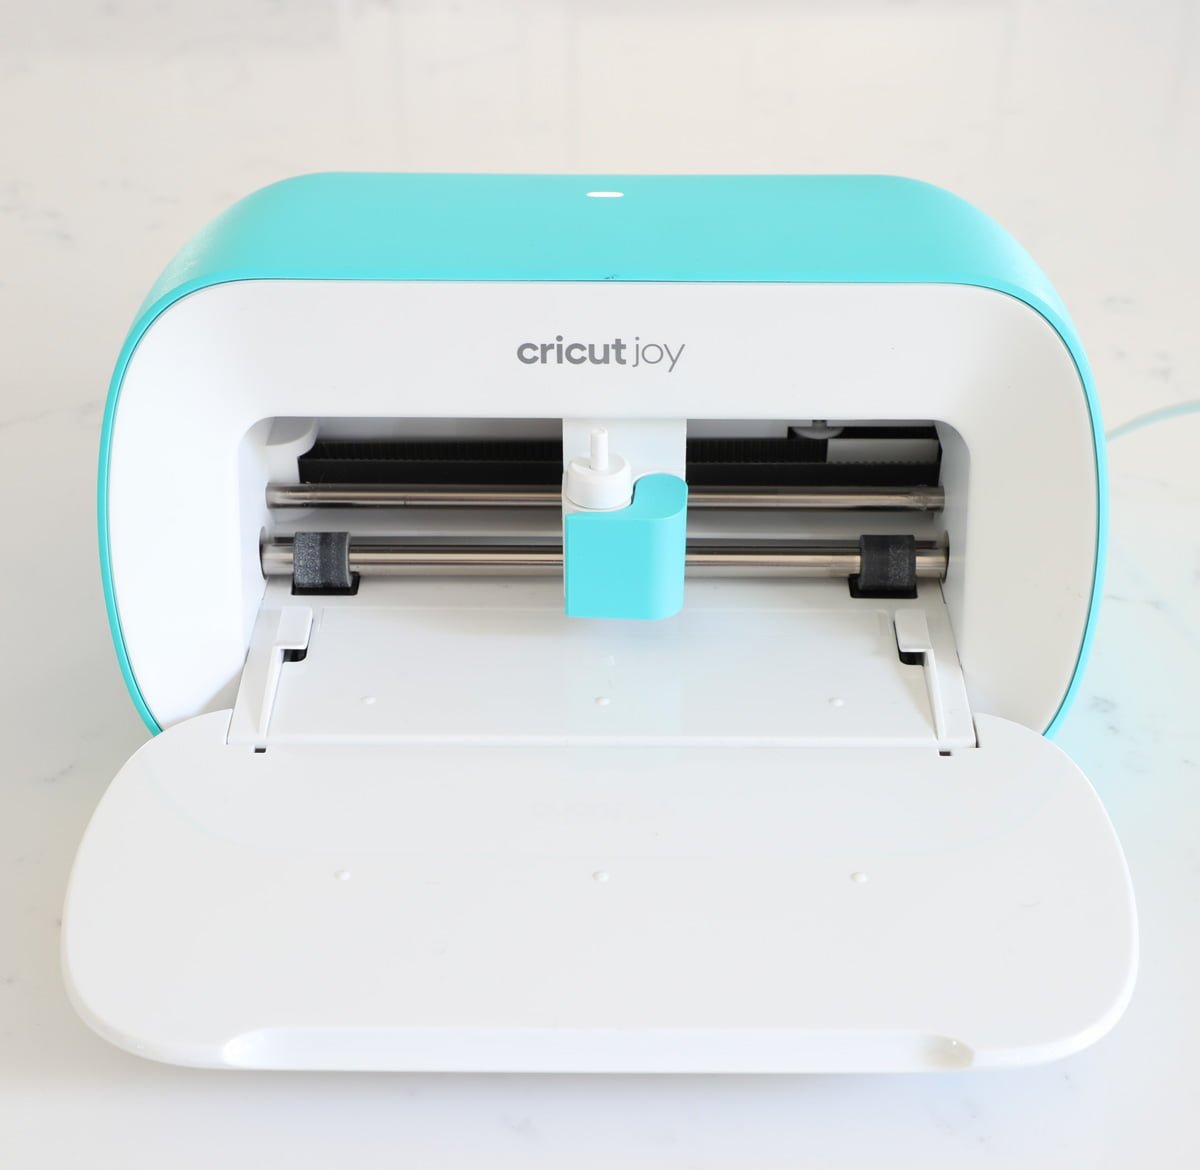
What’s a Cricut Joy?
Cricut Joy is a smaller die cutting machine that’s new to the Cricut family coming in less than half the size of Cricut Explore and Cricut Maker. It’s the perfect crafting machine for small living, home organization and creating cards! Don’t let the size fool you it’s small but mighty. No craft room required. Mats are optional! Using Cricut smart vinyl there is no mat needed. Hoarding tons of vinyl like me? Don’t worry you can still use it on the Cricut Joy standard grip mat. New Smart vinyl comes in extended sizes, with up to 20’ repeated cut capability, and no need to switch out multiple mats.
Read my full review on the Cricut Joy here.
5 ways to organize your kitchen with labels.
-
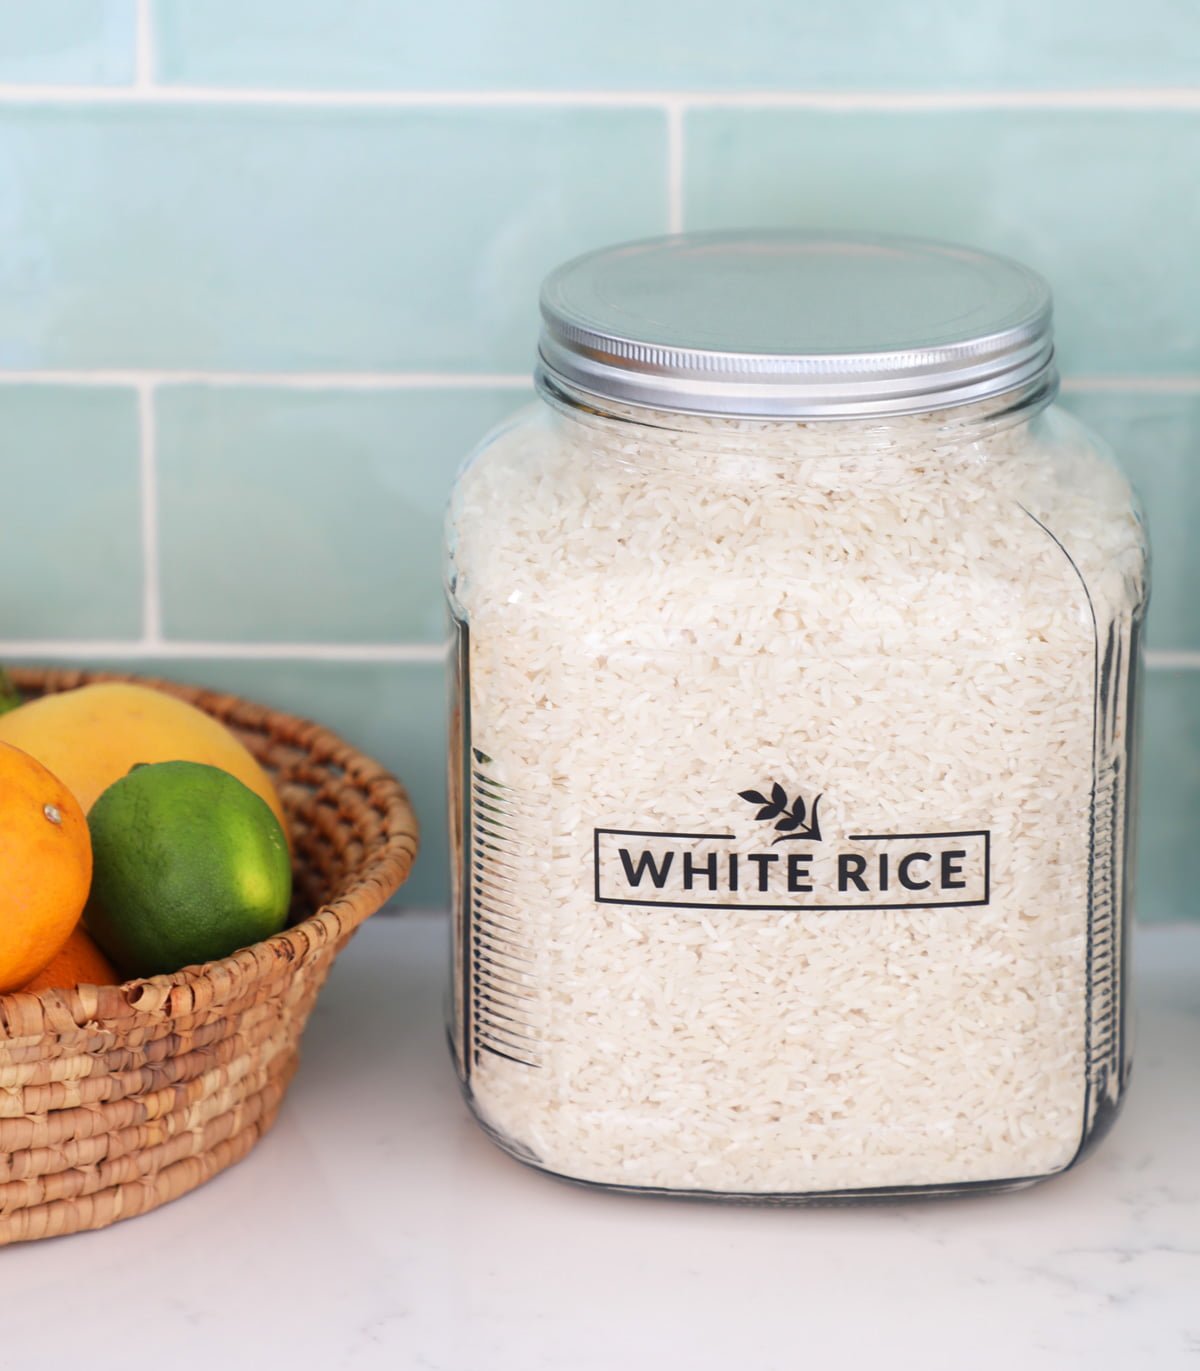
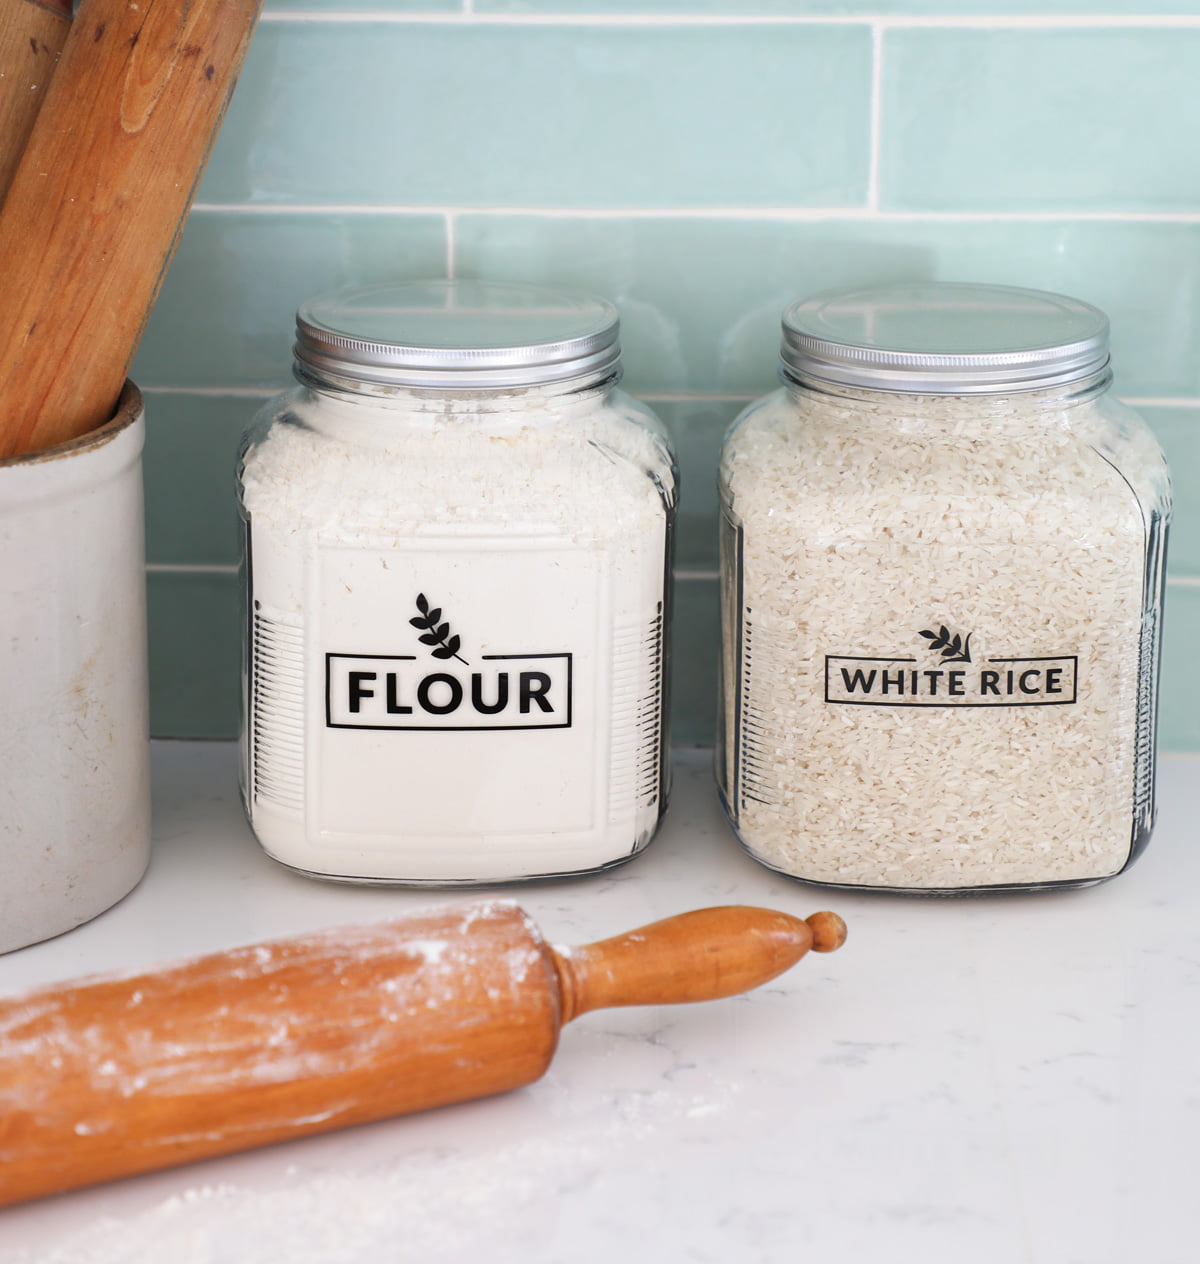
Store bulk items in large glass canisters
Store things that come in bulk in glass containers such as flour, coffee, rice and sugar. For easy identification make pantry labels using vinyl. I also like using glass canisters opposed to ceramic so you can always see how much you have before needing to restock. It’s never a surprise anymore when you run out of flour or sugar. For the full tutorial on how to make these DIY pantry labels scroll down.
-
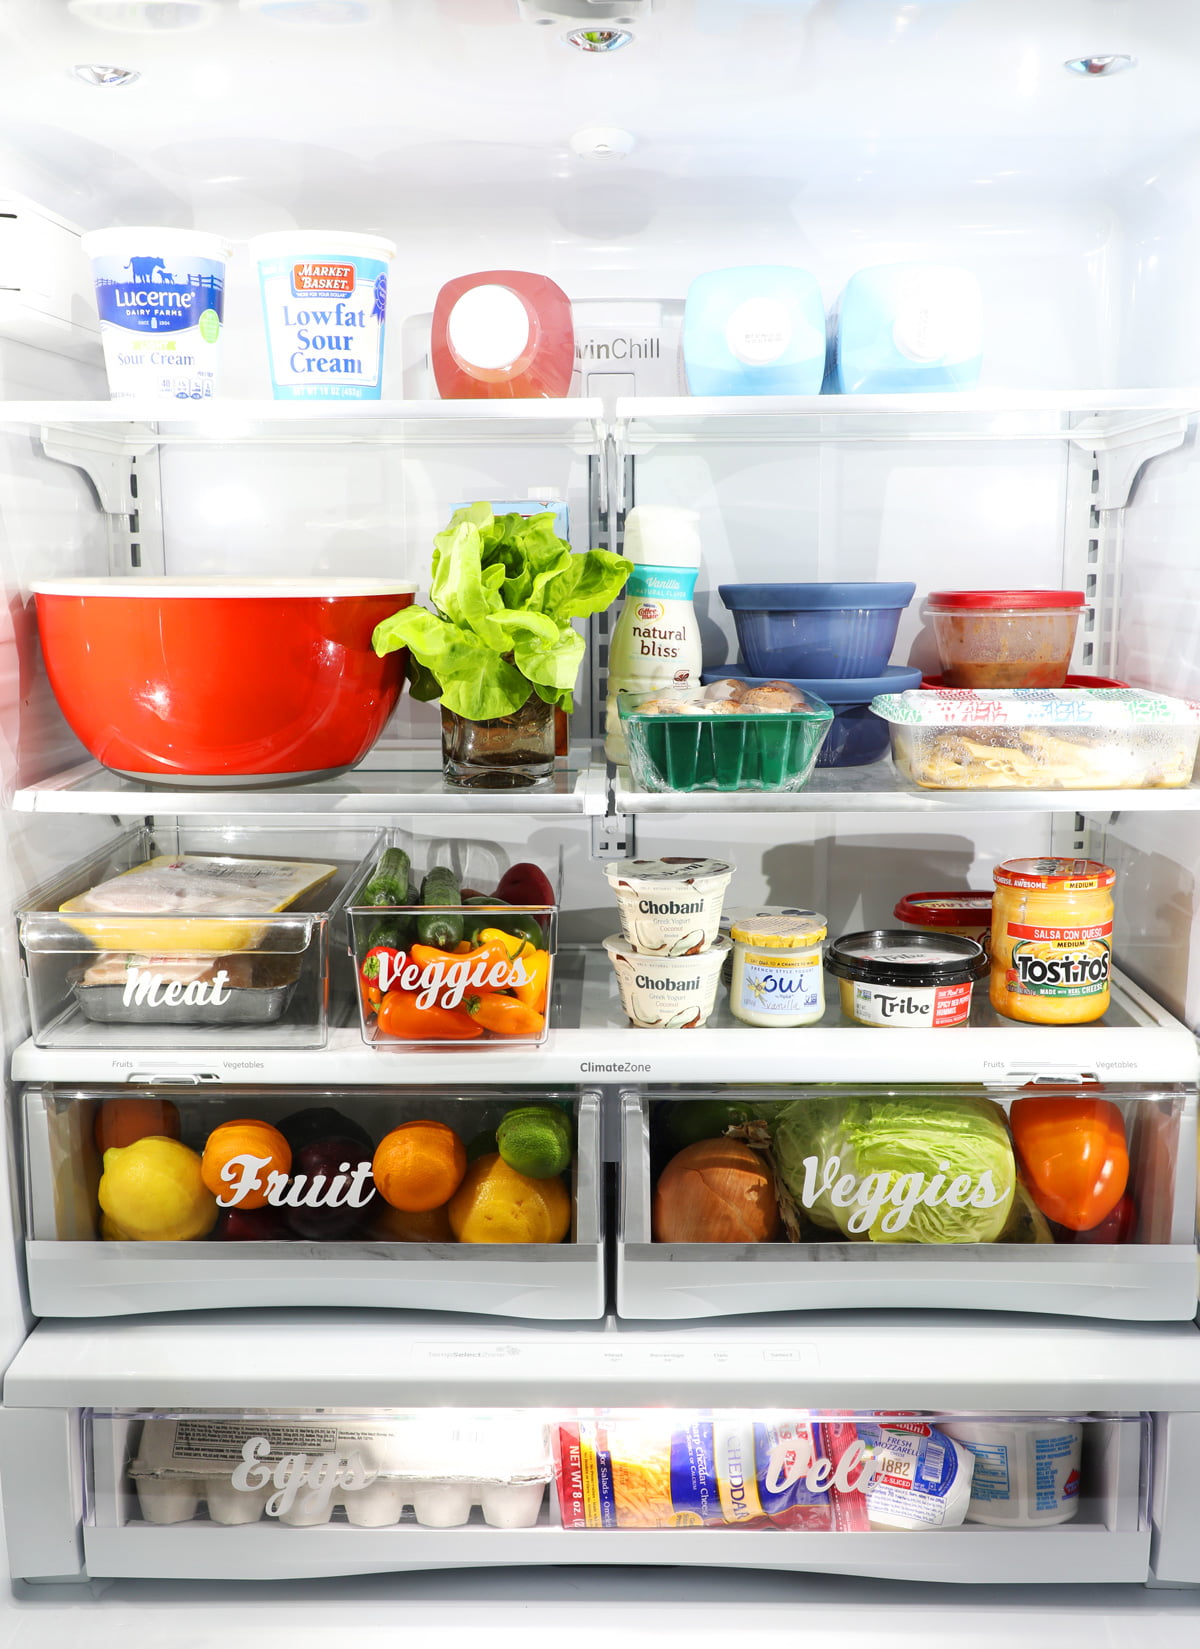
Organize your Fridge
There’s nothing worse than opening up your fridge and not being able to find something. Turns out it wasn’t right in front of you the whole time. I live alone so I can’t even blame anyone else. What’s the solve for this? Section off your fridge and give everything a home. Plastic bins and drawers are a great way to do this. Need to keep yourself accountable? Label them! You can start by using this design space file.
-
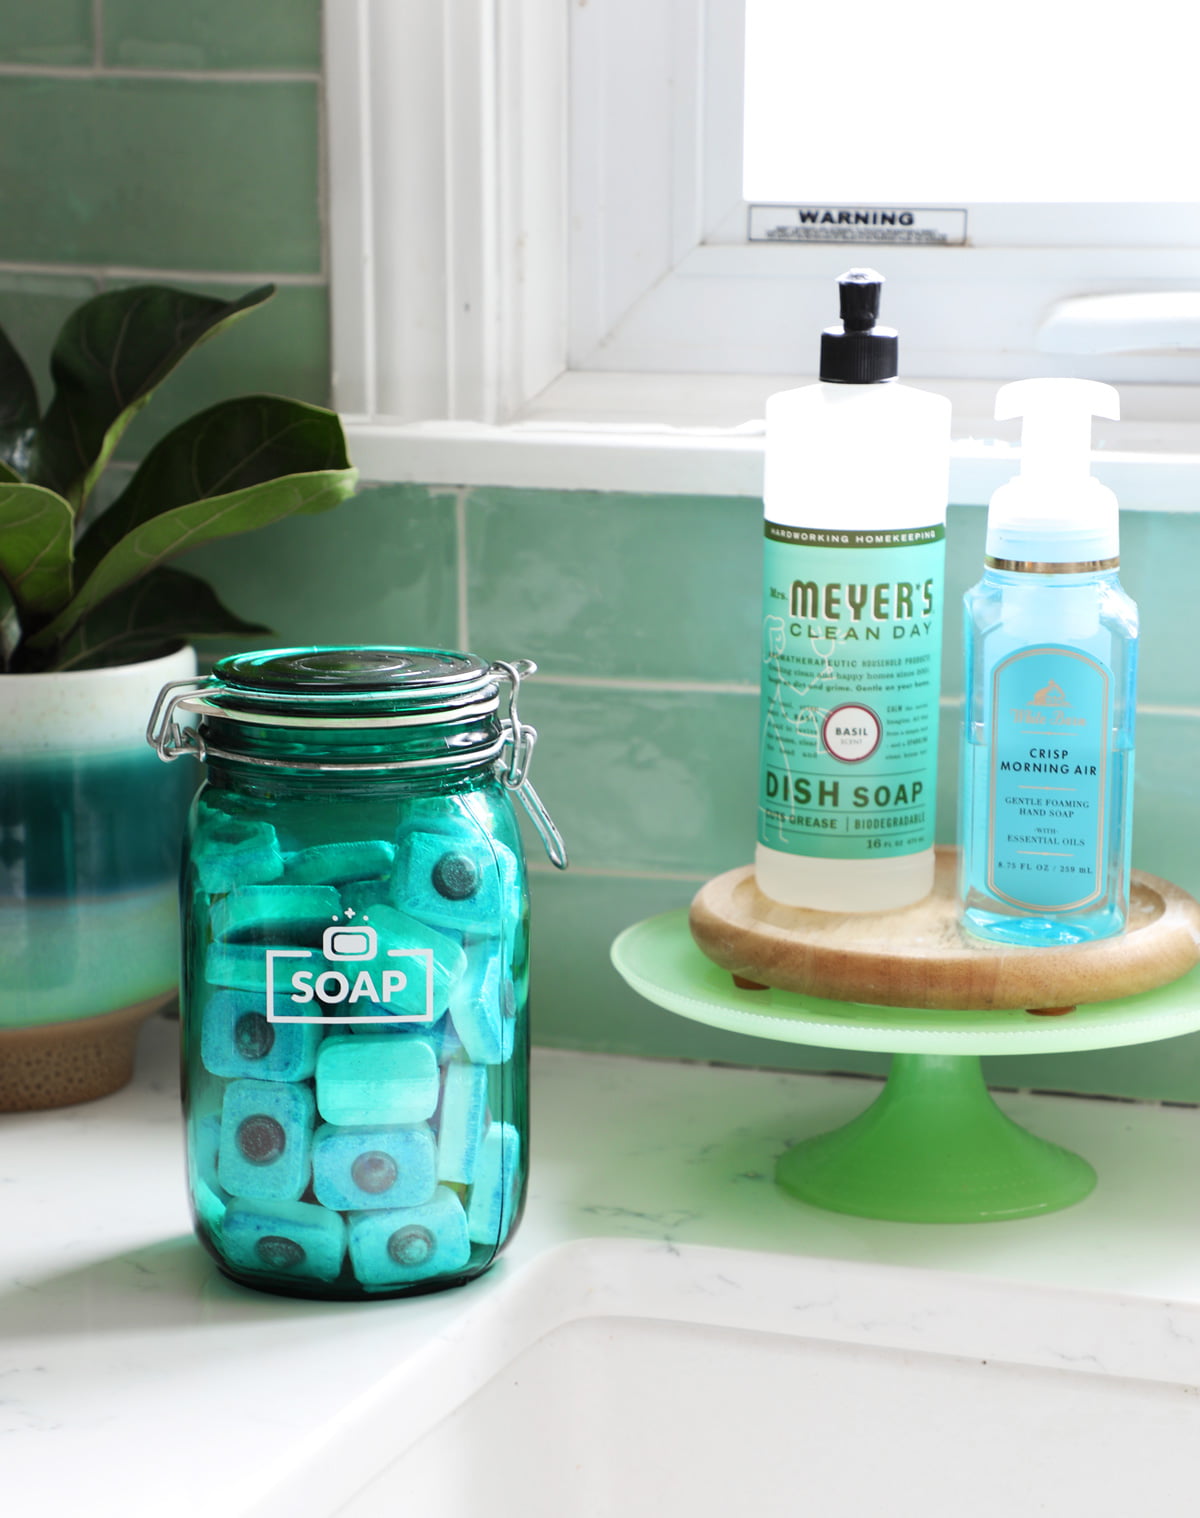
Dishwashing pods don’t have to be ugly
Lets face it dishwashing pods aren’t the prettiest and neither is the packaging. I like having the pods within my reach but don’t want the eye soar. Placing them in an enclosed tinted vintage mason jar makes them feel like they are part of your home decor rather than just cleaning products. Add a label like this one and you have an elevated look for your dishwashing pods.
-
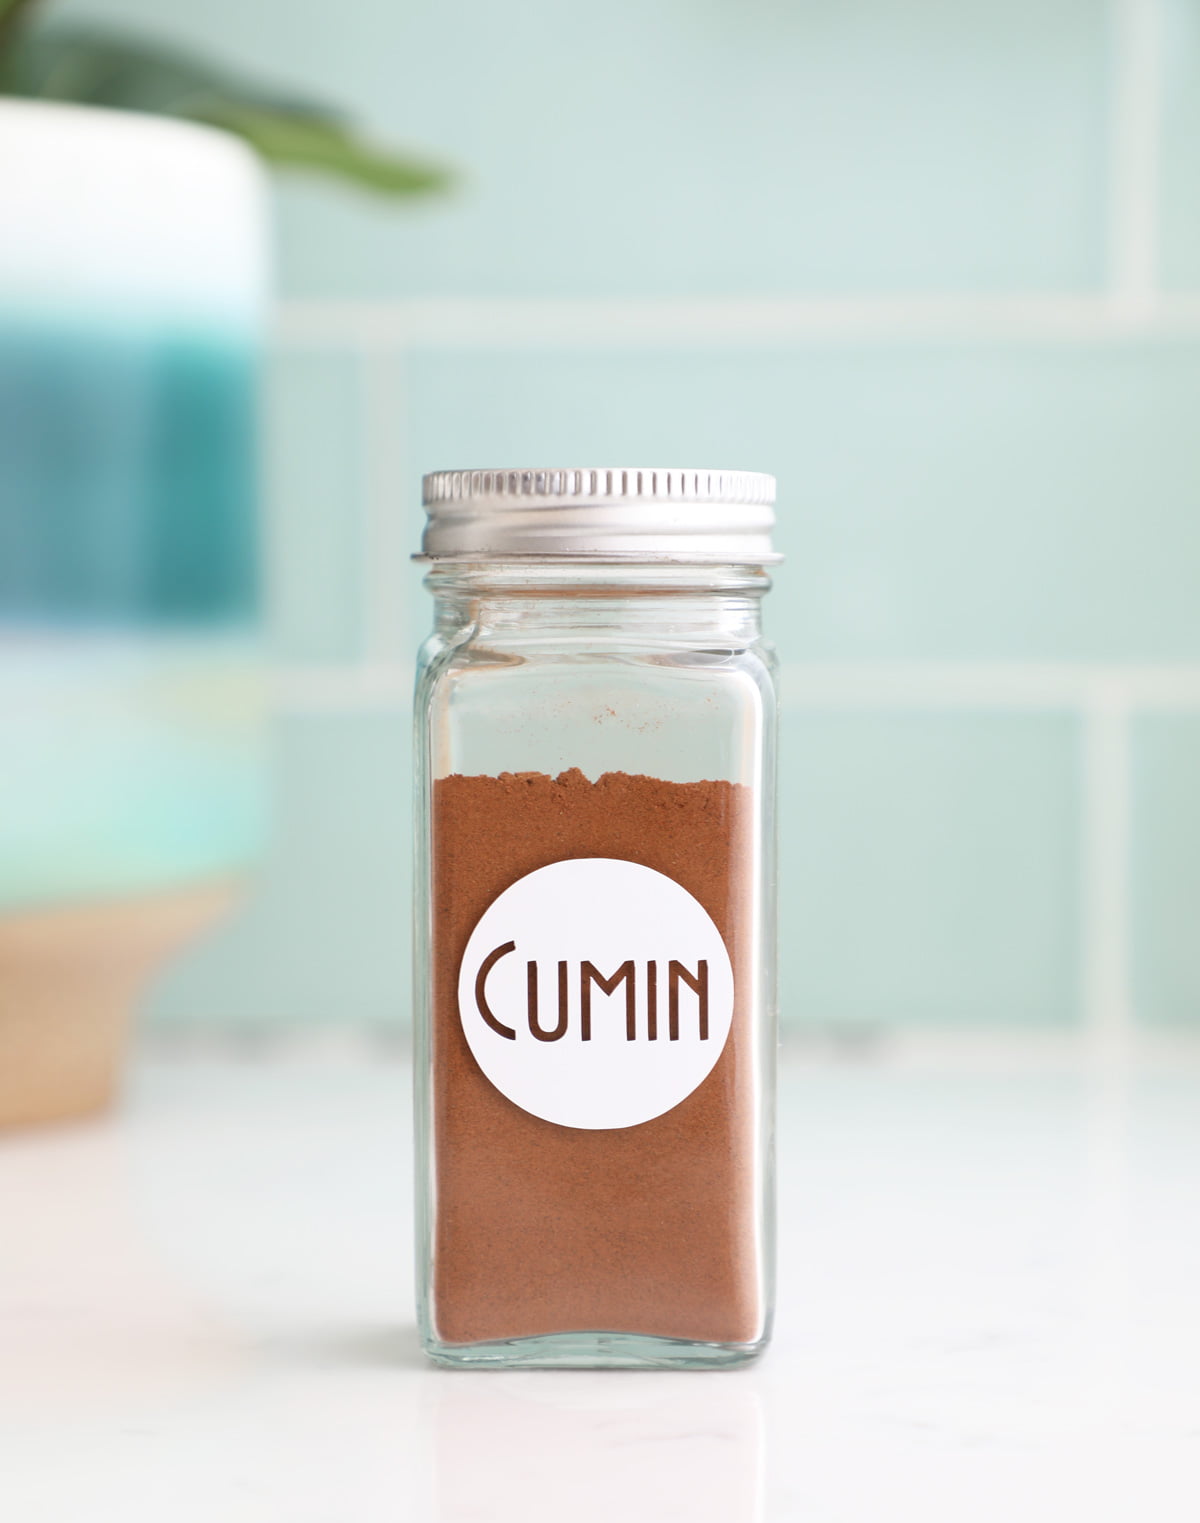
Label your spices
The spice cabinet can be an eye soar and let’s admit it we all have 3 half empty jars of cinnamon. Let’s combine jars, look at expiration dates and create labels for new glass spice jars. A simple fix that will make your heart flutter every time you open you cabinet or spice drawer.
-
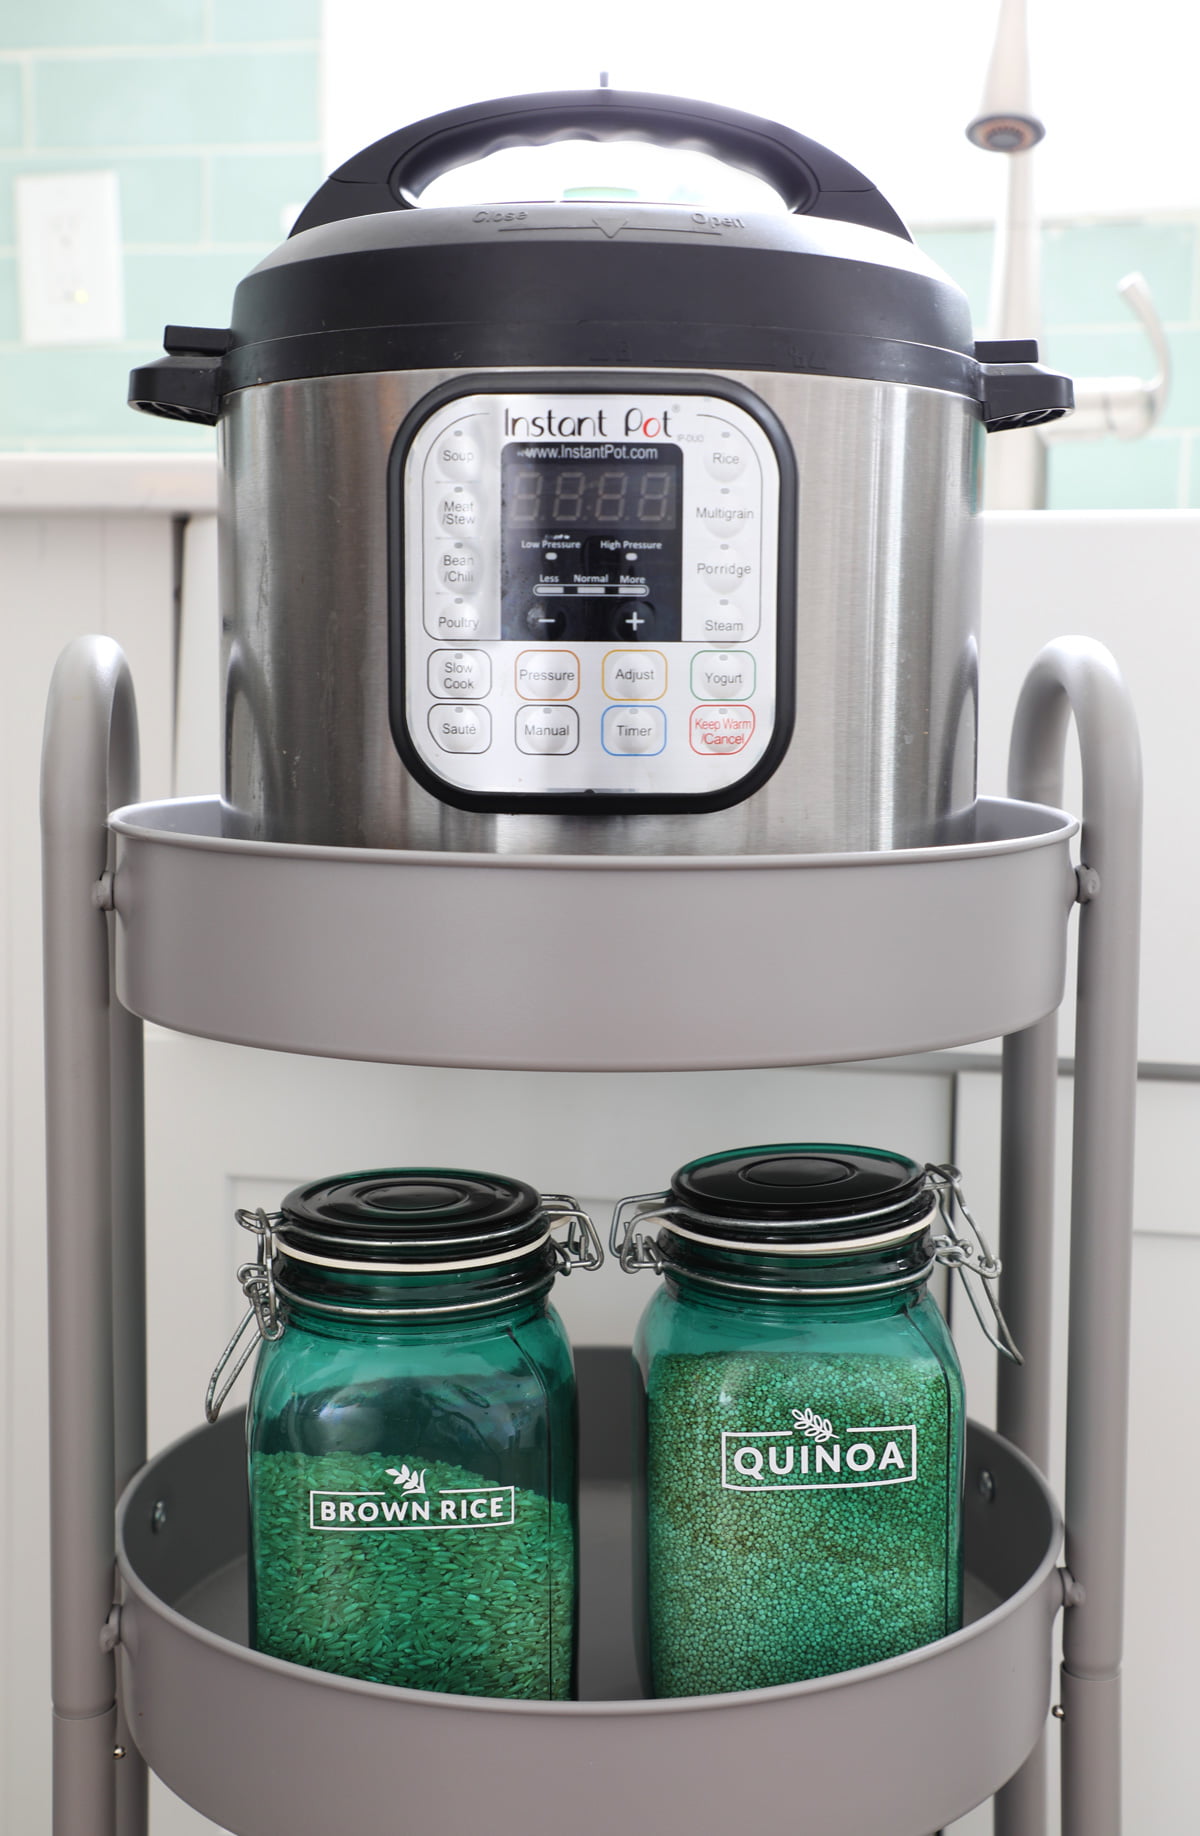
Storing Small Appliances
One of my biggest pet peeves is clutter on my counter including small appliances. In fact my most used small appliance I store on this Instant Pot cart. Not only does it free up counter space but it also stores my most used grains; brown rice and quinoa. Which are labeled to be easily identifiable. Get the design space file here.
How to make DIY pantry labels
So now that we’ve read about all the ways to use labels lets actually create some pantry labels! I am doing this with my Cricut Joy. It’s small and compact and perfect for organizing jobs. No need to bring everything down in my craft room or lug my Maker up from the basement. 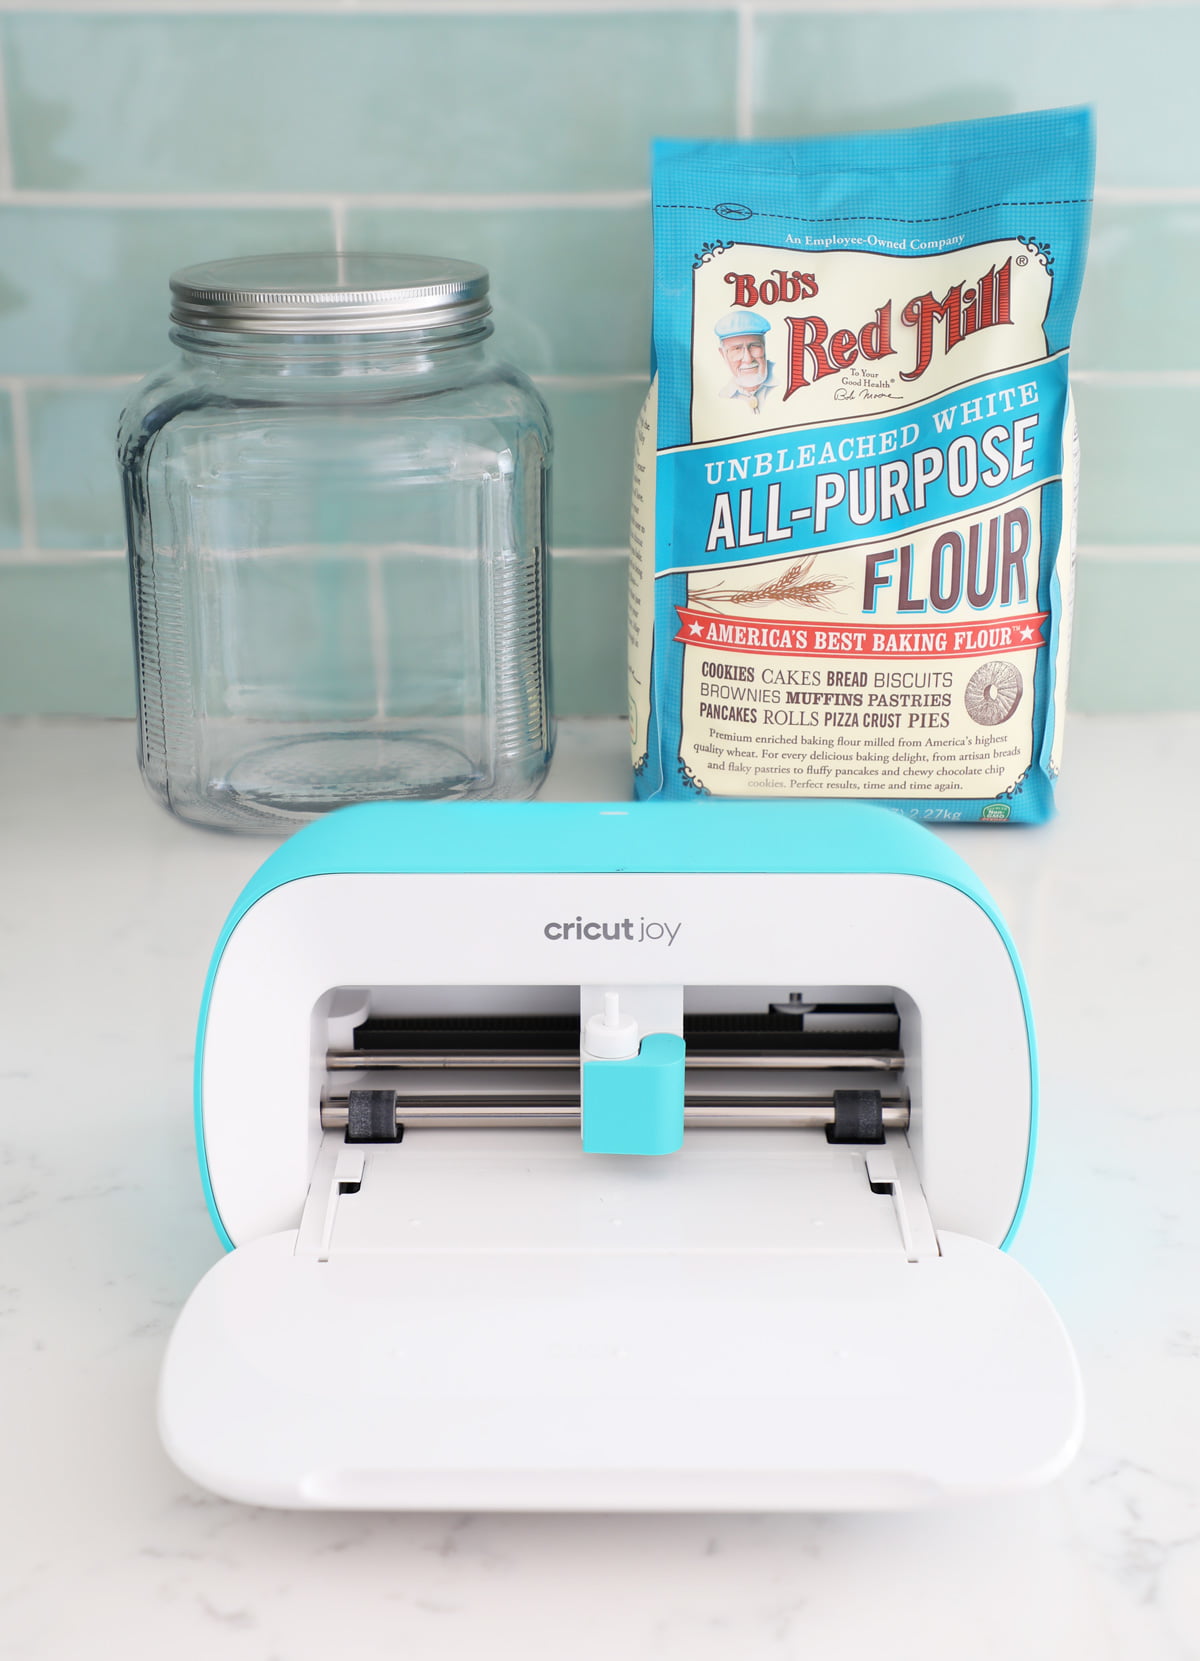
Here’s What You’ll Need
- Cricut Joy, Cricut Maker orCricut Explore Air 2
- Cricut Premium Vinyl or Cricut Smart Vinyl (Joy only)
- Cricut Joy Standard Grip Mat
- Cricut Transfer Tape
- Hook and Scraper Tool
- Glass Canister
- Pantry Label Design Space Files
Step One: Pantry Label Design Space File
Grab your pantry label file here. Measure the canister your are placing them on and resize files accordingly. If you are looking for more labels from the same Cricut Access design search “pantry labels with icons” under images in design space. There are so many great ones available. 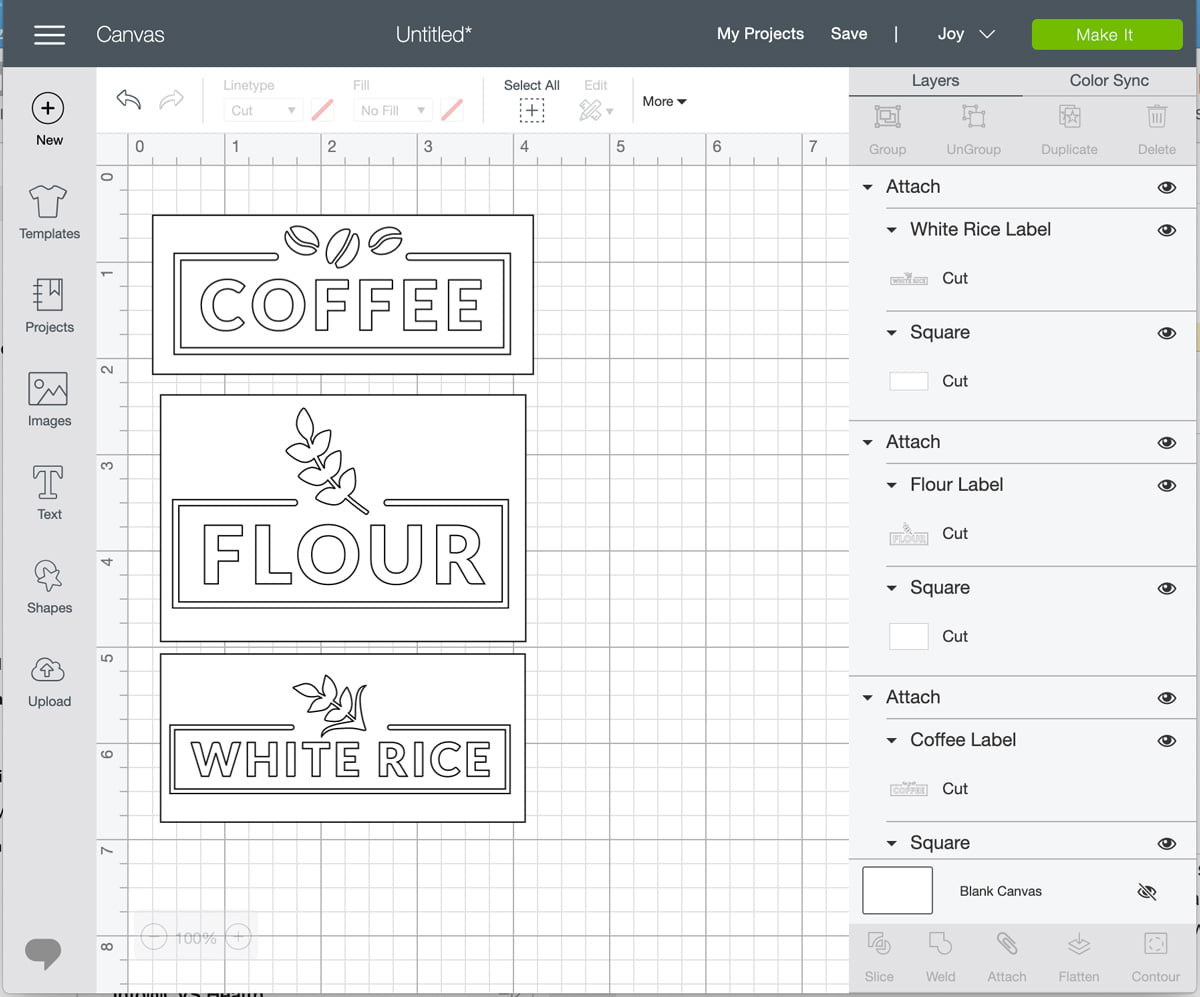
Step Two: Cutting vinyl
Now that you have your designs sized correctly click make it in the top right corner. Now select your machine if you are using the Cricut Joy you will need to select how you will load your material. Since I am using vinyl on a mat I am going to select “On Mat.” If you were using smart vinyl you would select without mat. Click Done. Select continue. You will be prompted to load your mat on the Cricut Joy. It will load automatically and select go. If you are using another Cricut load your mat with the blinking arrows. The “c” button will light up select it when you are ready to cut. 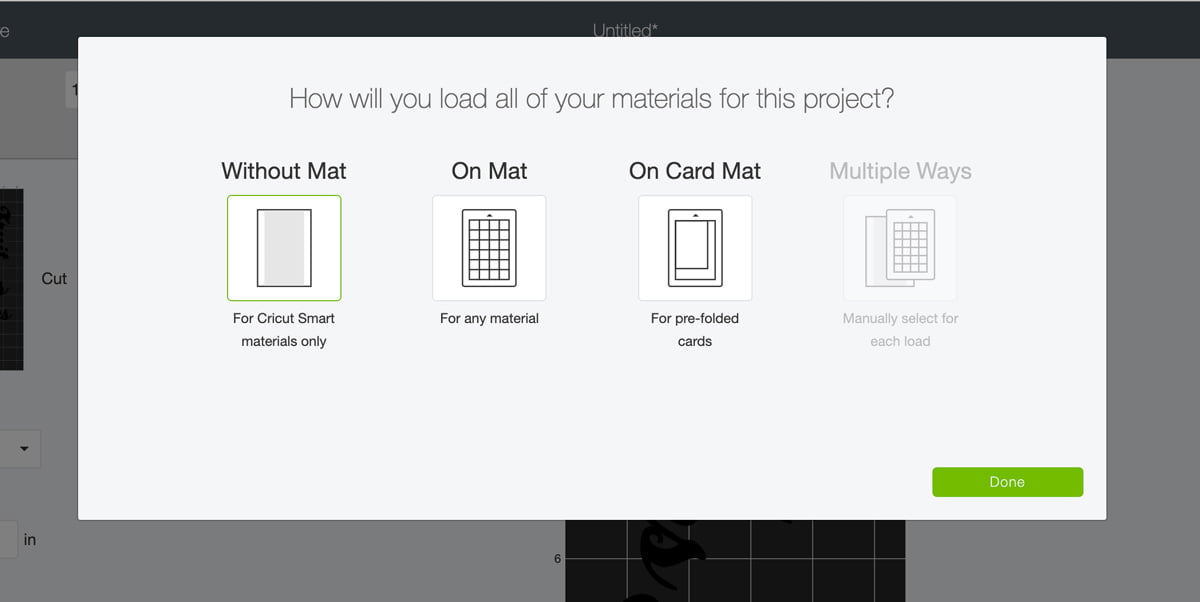
Step Three: Weeding
Once the Cricut is done cutting remove the mat and start to weed your excess vinyl. You should just be left with your lettering and embellishments. 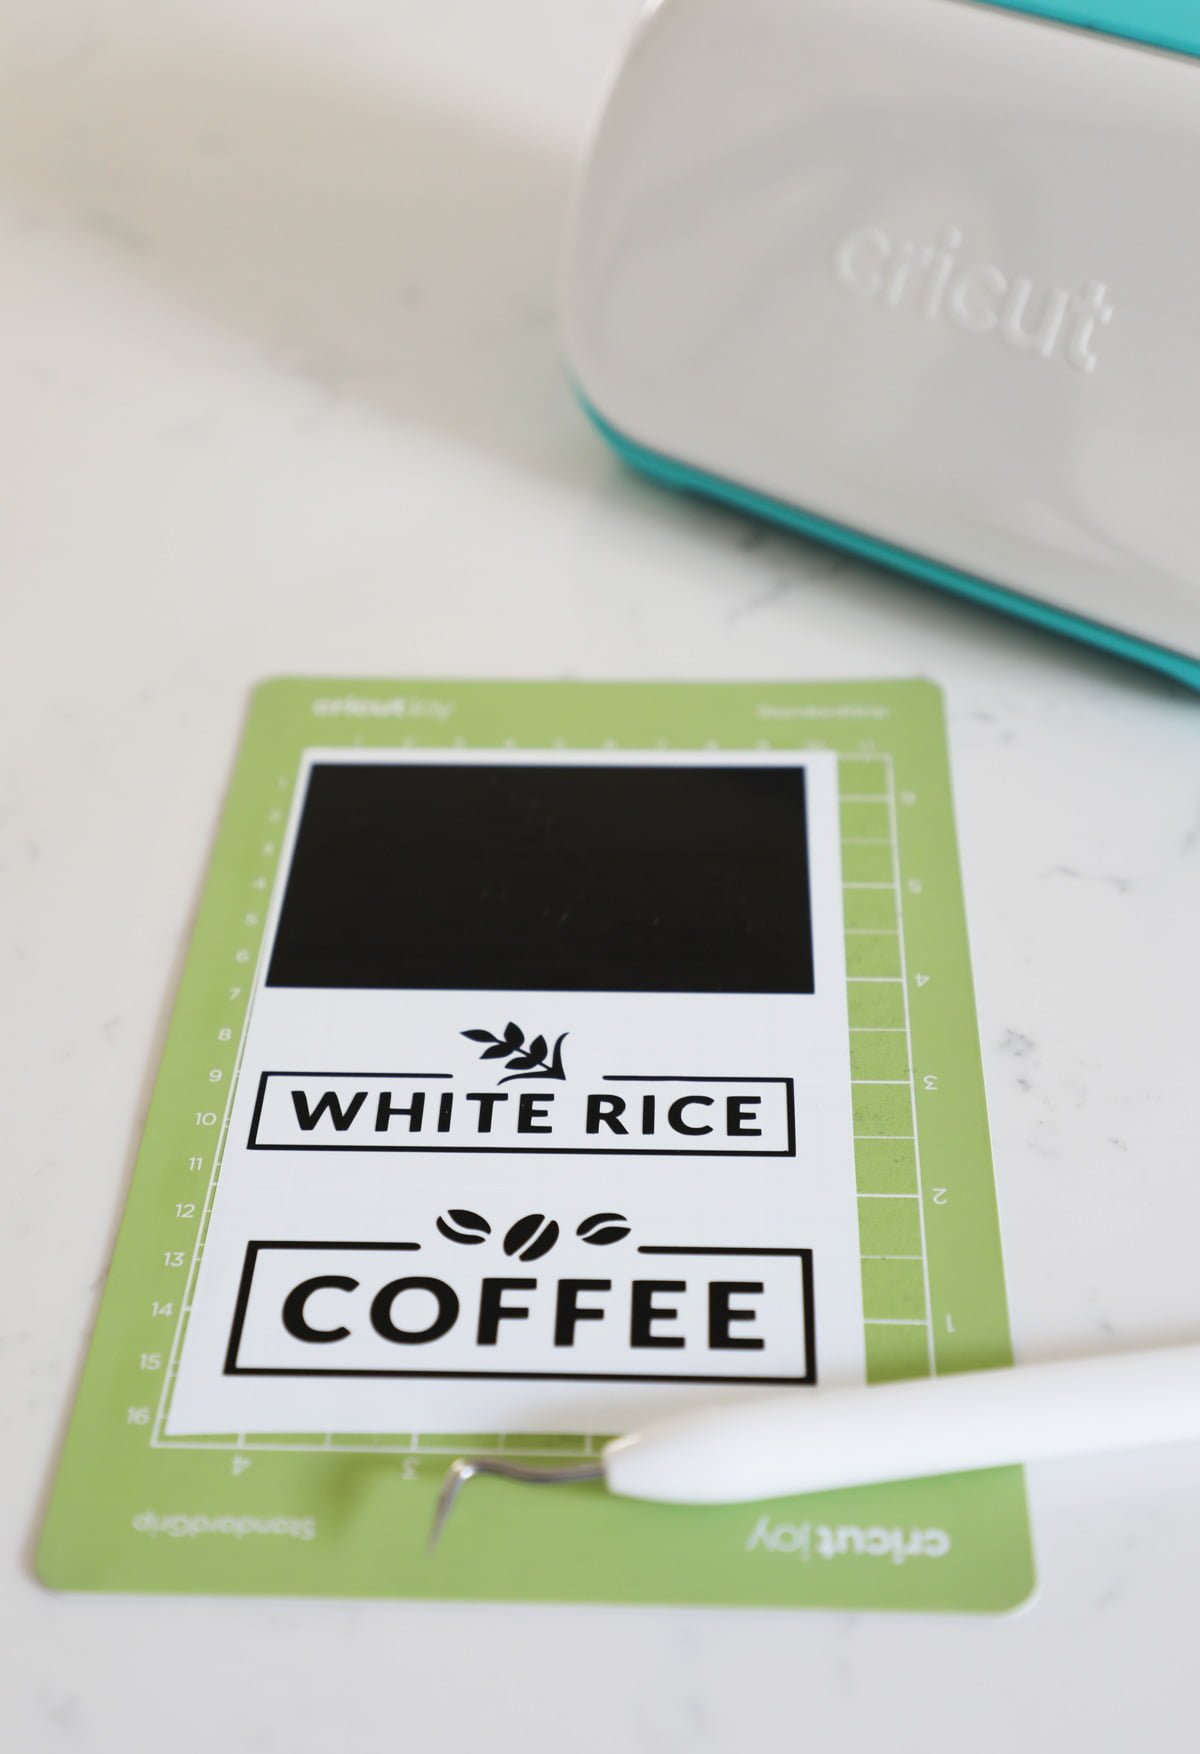
Step Four: Transfer Tape
Cut a piece of transfer tape to size and using your scraper tool or a credit card rub the vinyl on to the transfer tape. Peel back the backing the white sheet of backing. 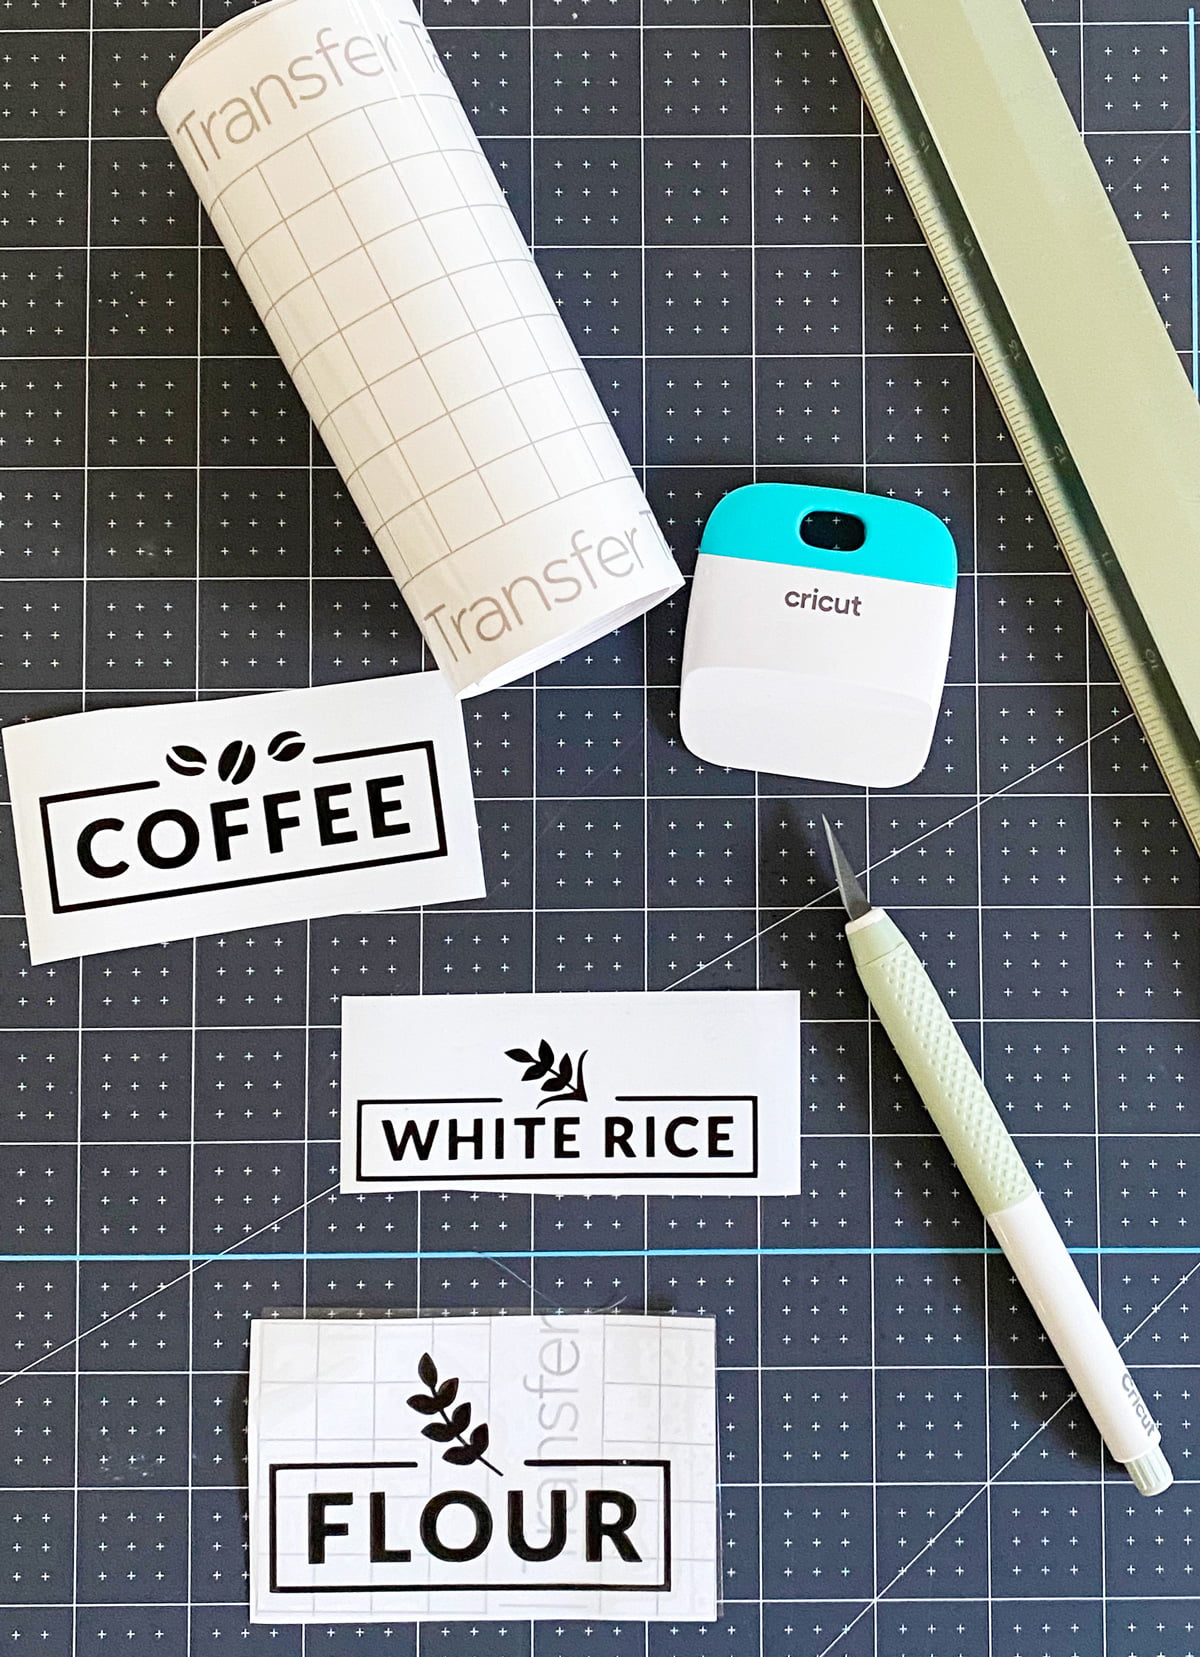 Place the design on the canister. I use gridded transfer paper this helps you lay the design straight. Once it is in the desired position use your scraper tool to transfer the vinyl on to the canister. Peel back the transfer tape. I like to peel it back low and slow making sure the vinyl is sticking to the glass.
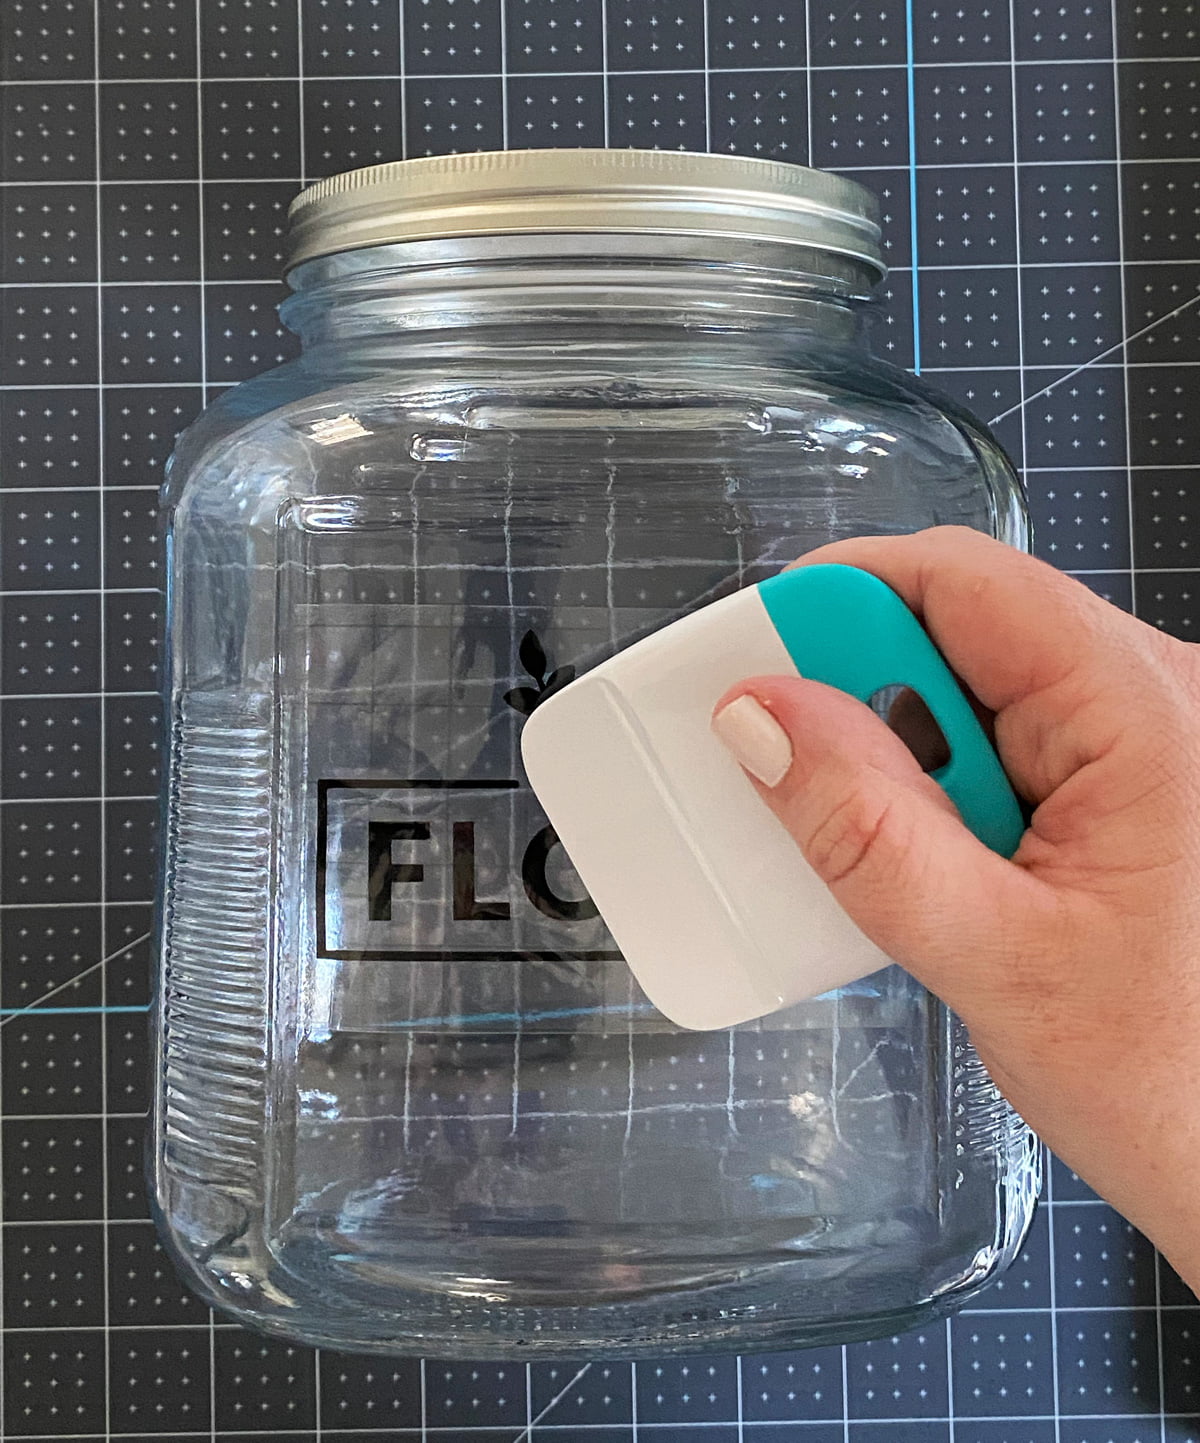
Step Five: Enjoy your organized kitchen!
Now I am not usually the most organized person but since the renovation I am finding myself organizing and cleaning a lot more. I am proud of the space and have really been enjoying creating systems that work for myself. I hope this helps you get organized as well. 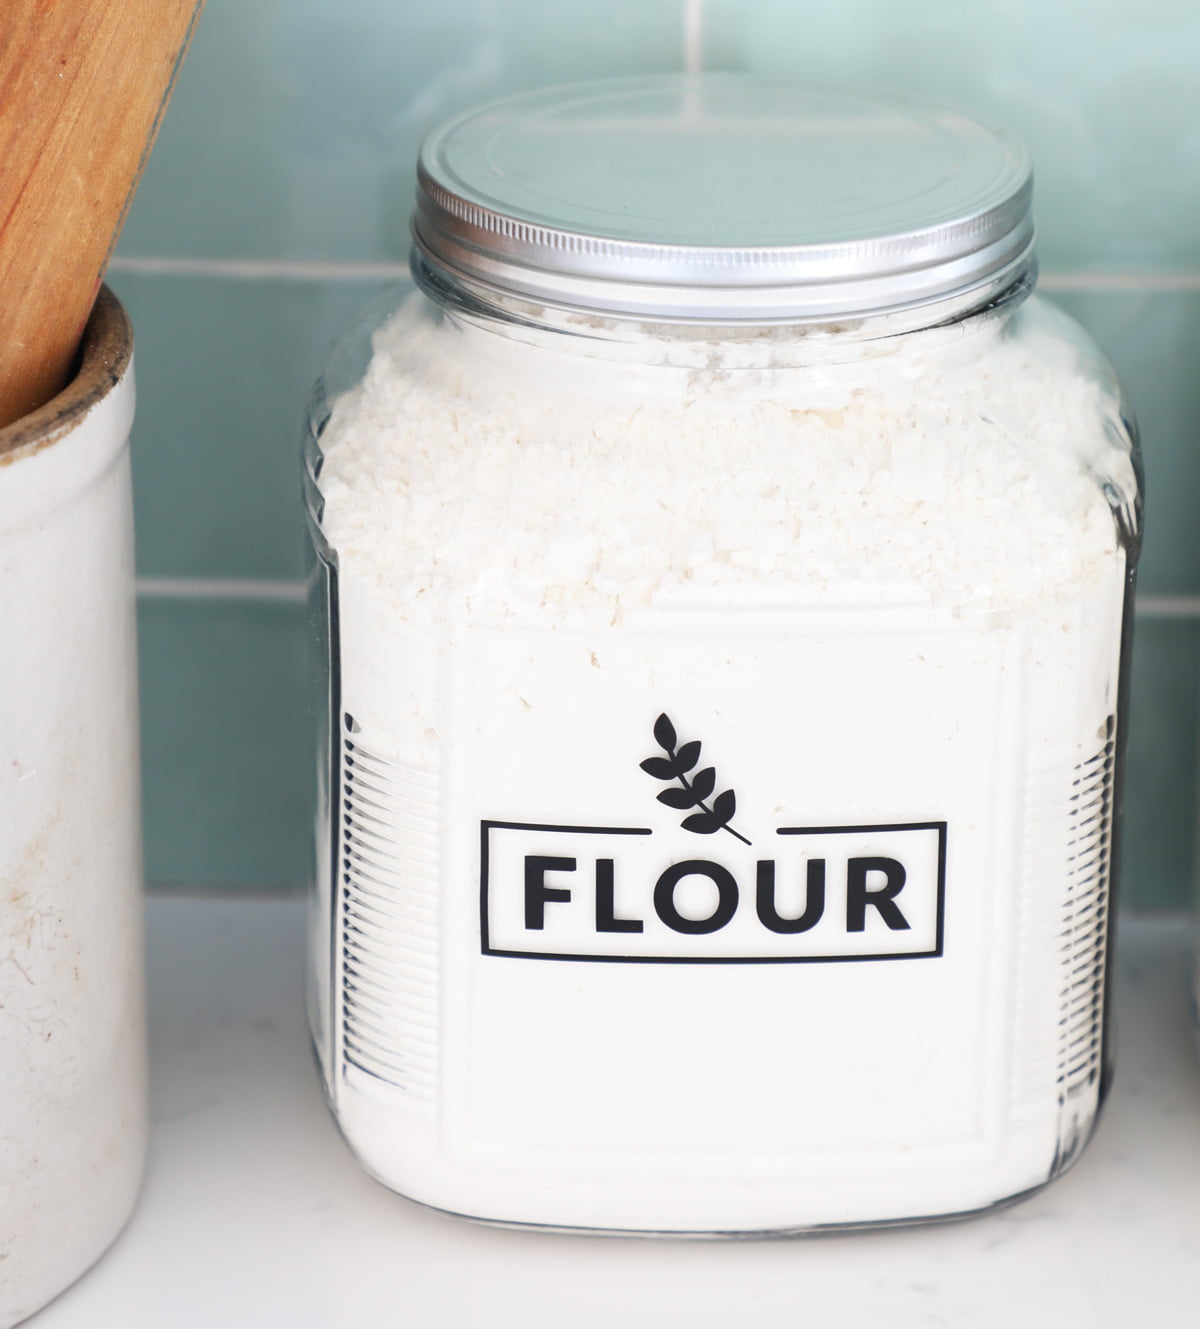
The post How to Make Pantry Labels with Cricut Joy appeared first on Weekend Craft.